As a crafting enthusiast who loves to explore the wonders of creativity, you probably spend your leisure doing DIY crafts inspired by other crafters.
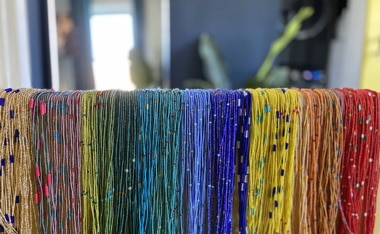
You get up in the morning, and it’s finally the day you’ve been waiting for. The beach party is today. Waist beads are an excellent
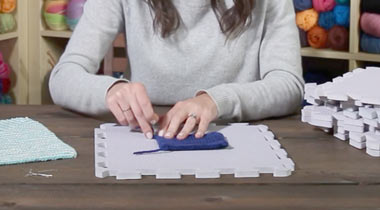
So you’re done knitting or crocheting? Everything looks pretty amazing with straight lines and borders. Well, until the item is washed! As though by dark
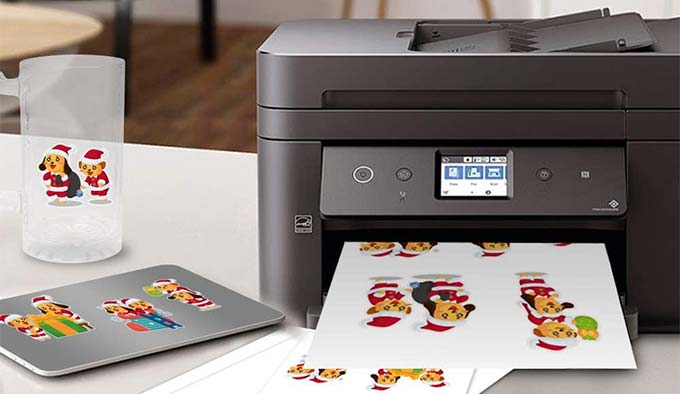
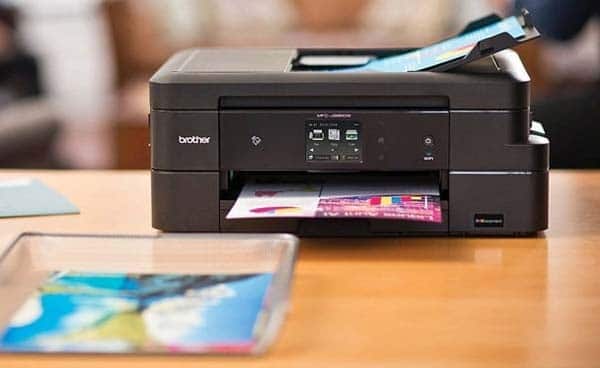
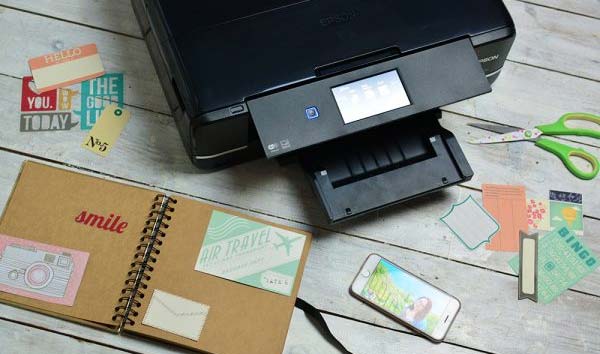
Back when printers were not as common, printing stickers was an expensive business. If you wanted to promote your small business with vinyl stickers, you
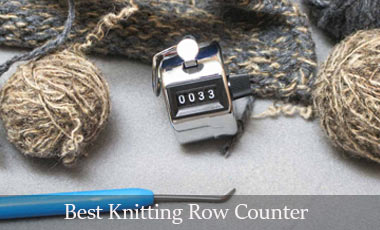
This is the 3rd time you count the rows on your knitting project. It is very time-consuming to count the same rows over and over
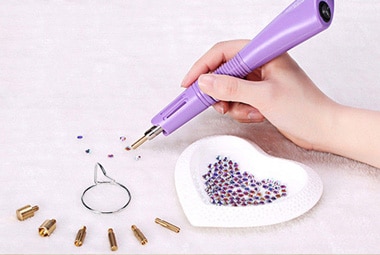
“Wow! Your design is so creative. Will you do my purse too?” Every party that you attend, you get offers like this for making a
Did you love scrapbooking as a child? You probably used stamps, stickers, dried leaves, and old family photos to decorate the pages of your scrapbook.

Having a creative bone in your body is such a blessing! What about those who don’t? Painting is one of the most gratifying creative hobbies
View More