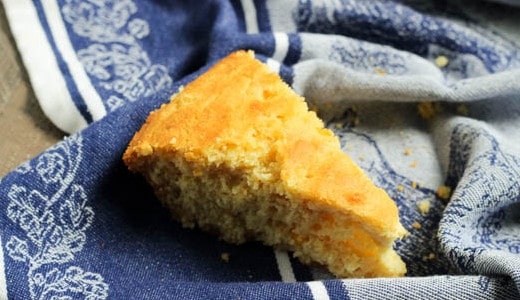
Hello, and Happy Friday! This is Steph from Steph in Thyme, and today I’m sharing a recipe for a flavorful and fluffy Honey and Buttermilk
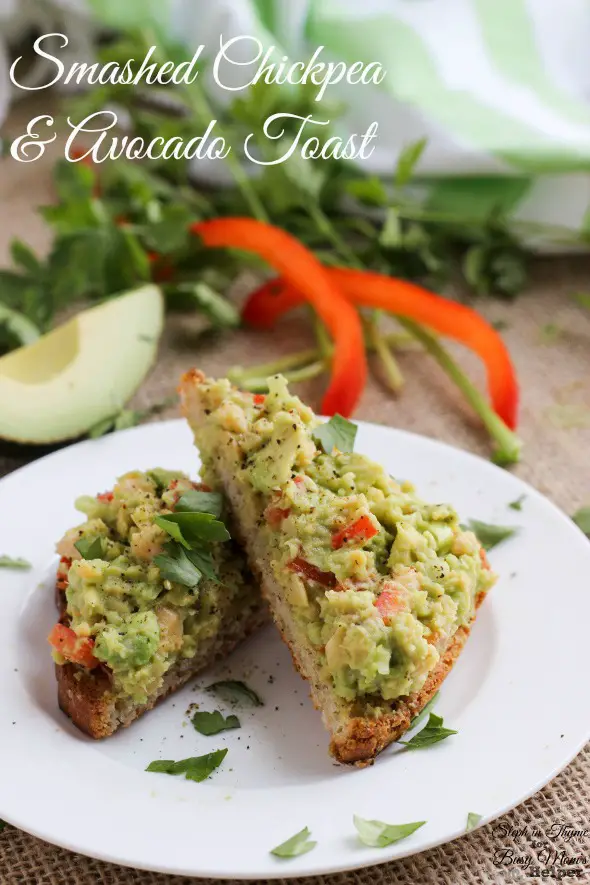
Hello, everyone! This is Stephanie from Steph in Thyme, and today I’m sharing my favorite breakfast toast recipe with you. For mornings when you want a satisfying breakfast without
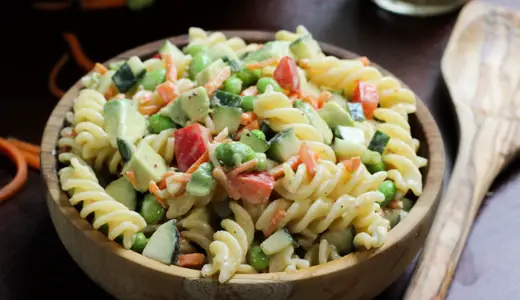
Happy Wednesday! This is Stephanie from Steph in Thyme. Today, I’m sharing a simple, yet crazy delicious pasta salad that’s perfect for a summer picnic. So perfect,
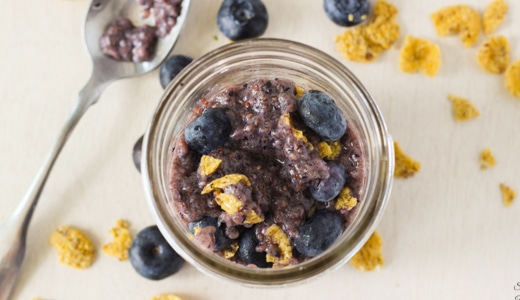
Hello, and Happy Friday! This is Stephanie from Steph in Thyme, and today I’m sharing a recipe for a healthy – yet protein packed –
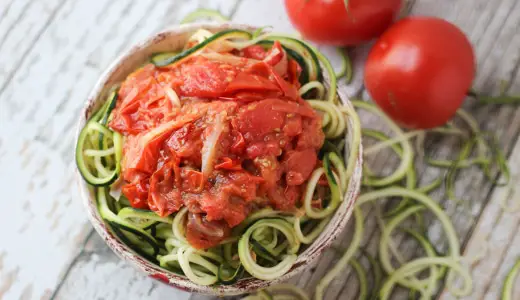
Just because a weeknight dinner needs to be quick and simple doesn’t mean it can’t be healthy or packed with flavor. This Spiralized Zucchini with

Hello, and Happy Summer! This is Stephanie from Steph in Thyme, and today I’m sharing a festive 4th of July recipe that you can bake and
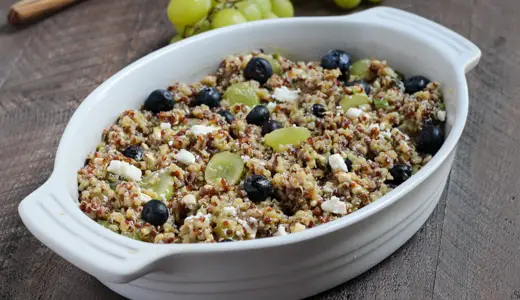
Happy Monday! This is Stephanie from Steph in Thyme, and today I am sharing a healthy side dish for your next supper or picnic. This
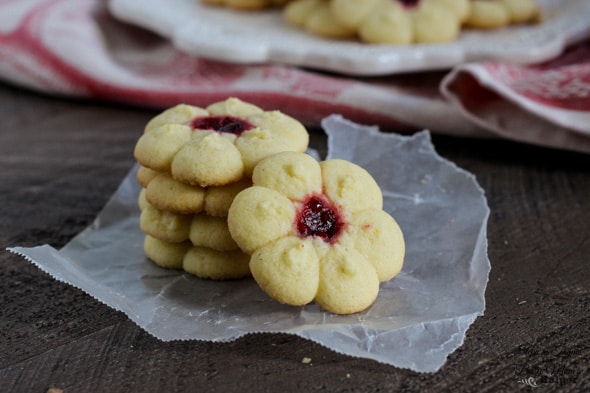
Hello, and Happy Holidays! This is Stephanie from Steph in Thyme, and today I’m sharing a classic Christmas cookie recipe my family has been baking
View More