

Craving Pioneer Woman’s famous chocolate sheet cake? This guide has everything you need. We’ll dive into Ree’s tips for a fudgy cake, share the iconic recipe, and explore FAQs and clever variations. It’s easier than you think!

Craving a slice of moist, flavorful zucchini bread? Learn how to make the Pioneer Woman zucchini bread recipe – tips, variations, and FAQs included. Let’s get baking!
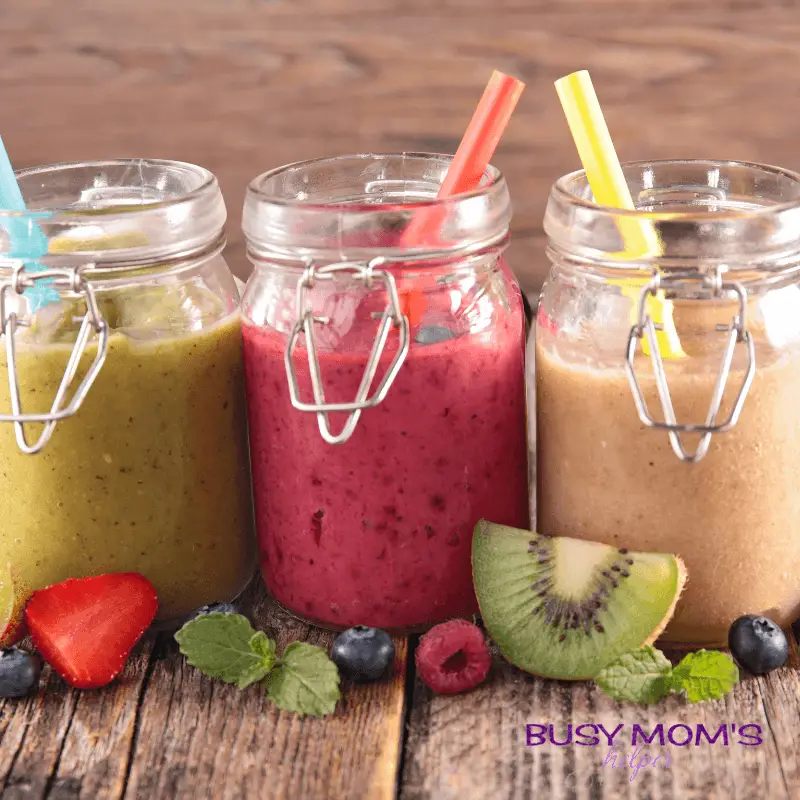
Discover nutritious toddler smoothie recipes and tips to delight your little one’s taste buds while fueling their growth. Perfect for busy moms on the go!

Growing up, we never made slow cooker desserts. That was for making roast or soups and such, not for more ‘unique’ things. It was a HUGE
I don’t have a garden. My parents had one at the house we rented from them for years, but now that we’re states away and
Sometimes I’m in such a hurry, I want to just throw stuff together, pop it in the oven, and call it good. This Easy
We eat sandwiches a lot at my home. One of my kiddos takes them to school when she doesn’t like what they’re serving in the

Every chance we get, we love to create as a family and when we can create in a way that’s both yummy and nerdy?
View More