How To Make Art Prints (Tips & Tricks)
Artwork is a very popular way for many starters and beginner artists to start creating a portfolio, as well as get a sense of what their audience base may want.
But while many artists’ commissions will often be digital art only, it may prove to be a benefit for them to also know how to make prints of their art.
After all, why just limit that stunning piece that you created last week to a digital format only, when the whole world should be able to see it?
So, if you’re interested in making prints of your art, either for business or for personal enjoyment, you may want to try reading through this little guide we have made, based off both our years of experience creating art prints, as well as the best recommendations and advice from other professional businesses.
Not only will we show you how to make art prints step by step, but we’ll also show you some helpful tips and tricks that you should keep in mind when creating these prints too.
Making Prints Of Your Art
When it comes to making prints of your physical artwork, you need to know the steps that you’re going to have to take in advance.
So, before you run off to a printing store or go to purchase a printer, you should probably check out the following steps first.
Gather Your Tools
If you’re going to be printing your art at home, you’re going to need the right tools for the job, first and foremost!
Based on our experience, the following items are a must if you’re wanting to follow all the steps for yourself:
- Scanner
- Printer
- Acid-Free Paper (Gloss Or Matte)
- Adobe Photoshop
If you are prepared to go to a printing store to get copies of your art print, the printer itself is an optional purchase that you don’t have to make.
However, trust us when we say that having all the parts you need for your print business under one roof (i.e. yours) is the best way of keeping this process as streamlined as possible, keep extra expenses such as paying for other necessary services low, as well as responding to orders as quick as possible.
In a similar vein, if you don’t want to pay full price for a scanner, there are likely many second-hand stores where you can purchase both a printer and/or a scanner provided that you are comfortable using a second hand item.
If you are buying a scanner for your art prints, make sure you buy one that can register and print a wide selection of colors.
From our and other professional printer’s experiences, some cheaper scanners will have difficulty rendering some colors, which can have a notable impact on the result of a print.
Prep Your Art & Scanner
With all the equipment and supplies that you’ll need ready, you’ll be able to start getting your art ready for scanning.
When you have all of your necessary supplies, you then need to make sure that the art that you are hoping to scan and print is clean and dry.
If your piece has been freshly painted or drawn, we do not recommend scanning it right away, as the paint and ink will need time to properly dry beforehand.
You’ll also want to make sure that there are no eraser marks or smudges on the piece that you don’t want to be in the scanned product.
What’s more, if we’ve learned anything over the years, you should give your scanner a decent wipe and make sure there is no fluff built up in the device.
Once this is done, you can now start to scan your artwork.
Connecting Your Scanner
Now, you can connect your scanner to your laptop and open the image in Adobe Photoshop.
For a higher resolution image, make sure that you have a higher DPI (Dots Per Image) set up on adobe photoshop.
Aside from now having a digital copy of the artwork, you can also use Photoshop to make or add changes to the image that you otherwise didn’t like, perhaps those that have happened as a result of scanning it, and a color potentially being missed.
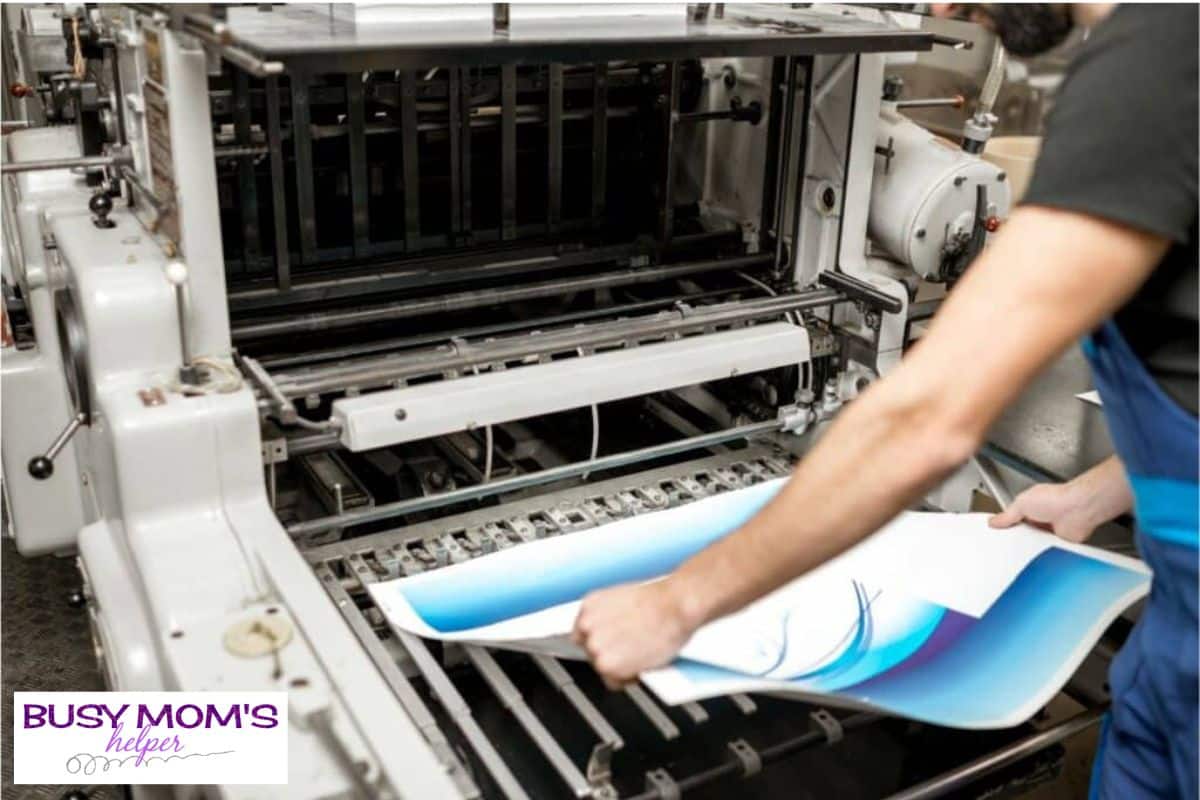
Proof Test Print
Once you have made any changes that you would like to with the image, you can now try and print a copy of the image as a proof test run. If you are curious if this print would be an artist proof, read on here
You’ll want to have your acid-free paper ready for the test, as it will give your image the best clarity and not ruin the overall quality of the print.
This will also give you a good idea as to any adjustments or corrections you’ll need to make in Photoshop for the next image.
Other Tips & Tricks
So, with the basic tutorial out of the way, what things should you be keeping in mind for printing artwork?
Printing Your Art At Home
We have already touched on this aspect in the tutorial above.
However, we should reiterate that having access to your equipment for both printing and scanning will help cut down on your overall costs massively, and will keep the whole process in-house, so to speak.
This is especially the case if you are already a painter or artist.
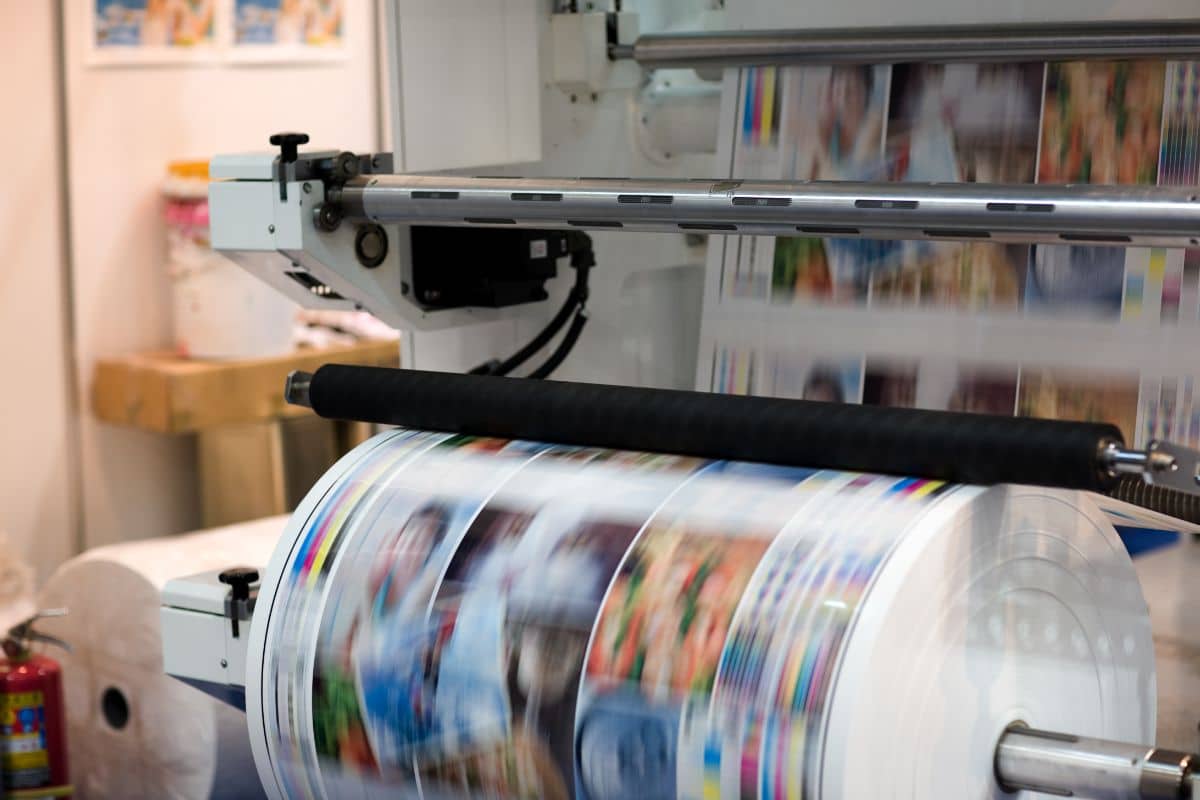
If you find that you are getting a lot of orders for your prints, you may want to invest in a commercial printer that can handle larger order sizes. Check out our buyers guide for best printer for vinyl stickers.
Above a certain size in orders and prints, we have found that the cost of creating prints on an office printer start to noticeably increase.
Picking The Right Paper
This will not be an issue if you are already a digital artist, or you primarily use a pencil for your artwork, as the material you draw on will likely be pretty well-designed for scanning.
However, if you use paints or oils in your artwork, you should make sure that you are printing onto a material that can easily be scanned, such as canvas paper, which is both incredibly flat, and much easier to scan than if your art is on something like wood or chipboard.
Depending on what you want the final result to look like, matte will diffuse and blend your colors, whereas gloss will help show the fine details better. If you would like to save a bit more money, you can also frame your art prints yourself for cheap, read here how to do that.
Frequently Asked Questions
What Type Of Material Is Best For Print Art?
White it can often be tempting to simply use cellulose paper or glossy printing card for your art prints, there is actually quite a variety of materials that you can use for getting a great final result with an art print.
Based on our findings, the best material that you’ll find for print art is cotton rag paper.
Not only do you get an incredible level of fine detail in this material, it actually imitates how an original art piece looks and feels on the surface of it too, adding a sense of authenticity.
Plus, the material is also strong and very durable, which will help contribute to the longevity of your print at the same time.
Is It Worth More Selling Art Or Art Prints?
Some artists may be wondering if it is better for them to sell their art as art print or in its original state.
This will likely come down to the kind of audience that you are trying to cater to.
Original art tends to be most popular with private art collectors, museums, and art galleries that want to showcase an artist’s skill.
However, if you’re looking to showcase and sell your art to a wider audience, art prints will be the method for you.
This is especially the case for an audience that will appreciate a good piece of art for how it appears, rather than its technical qualities that collectors and galleries often look for.
Final Thoughts
We hope that our guide and experience has helped you out on your commercial art journey!