How To Frame An Art Print For Cheap
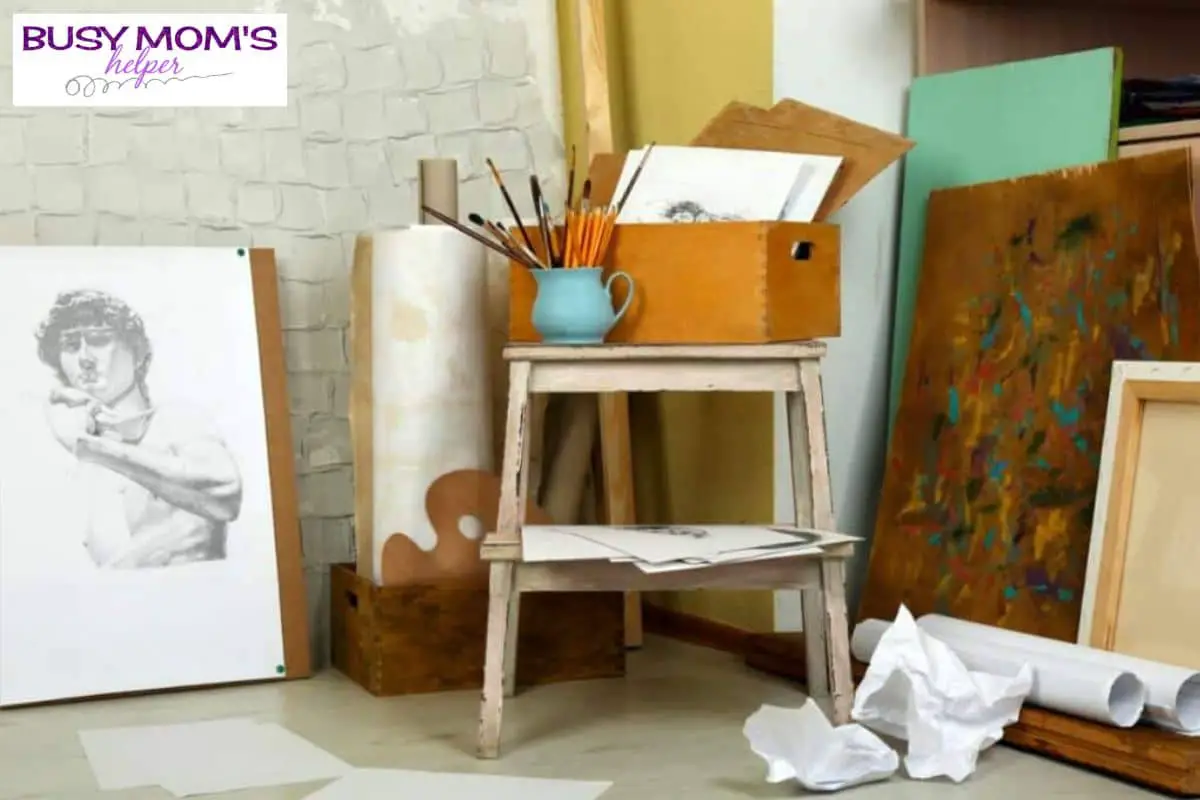
If you’ve just bought a lovely art print, then you’re going to want it looking as best as it possibly can, which means putting it in a nice frame for hanging on your wall.
However, custom frames will often cost a lot of money, and it can really test your wallet when this cost is added to the cost of the art itself.
Thankfully, though, I’ve been cheaply making my own frames for art prints for a while now, fixing up old frames and making them look brand new and stylish. I also have been printing out my own art prints on my printer to save. Read our best printer for art prints buyers guide if you are curious.
In my guide below, I’ve got the best DIY technique to save you much-needed money.
How To Frame An Art Print For Cheap
To begin with, you’re going to need to gather together some materials and tools, because this cheap way to frame your art prints is going to require a little DIY.
If you’re inexperienced with DIY, it would be worth getting a professional to help you with any dangerous parts.
What Will You Need
- A pre-existing frame with glass
- Artist’s tape (make sure it’s acid-free)
- Mat paper (acid-free, too, and cut it to fit the frame’s glass)
- Mat cutter
- Thumb tacks
- X-acto knife
- Pliers
Alternatively, you can use little nails in place of thumb tacks. However, if you do then you will need a hammer.
Additionally, I’ve sometimes attached D-ring hangers to the frame, which you can too. This will require 2 D-ring hangers, a screwdriver, and picture wire.
If you want to change the color of your frame, perhaps to better match your art prints like in our colorful Christmas frame decor article, then you’ll need a brush and either some paint or stain.
Making A Frame Cheaply
Step One: Finding A Pre-Existing Frame
To start, you’ll need to search through stores for a pre-existing frame. It doesn’t have to be in perfect condition, either, but the worse state it’s in the more time you will need to spend fixing it up later.
I’ve found it much better to spend the time seeking out a decent-quality old frame, because it saves you time further down the line!
Either way, try to find one that’s roughly the right size for your art print and has undamaged glass.
Step Two: Removing The Kraft Paper
With your pre-existing frame, study its back and find the brown kraft paper that’s covering it.
Get your X-acto knife and carefully cut alongside the inside edges, so that you can remove the paper without damaging the frame.
Step Three: Removing The Next Layer And The Old Art
With the paper removed, you’ll see another layer on the back of the frame underneath it.
The material might vary, because I’ve frequently encountered materials like cardboard or foam board. Whatever yours contains, it should be held in place with either staples or little nails.
You’ll need to remove these in order to remove the layer, so grab your pair of pliers and carefully, gently remove each staple/nail. Be sure not to hurt yourself on those sharp ends!
When done, remove the layer safely. After that, you’ll also be able to remove the old artwork that came with the frame.
Step Four: Painting Or Staining (Option)
If the frame is not the color you want, perhaps because you want it to complement your art print, or you need to touch-up the paintwork because it’s old and chipped, then you can paint or stain the frame.
I’ve always had much better results when the colors of the frame complement the art print within it, and it’s always been worth the time I’ve spent painting it or staining it to get that way.
Use a brush and paint/stain the frame. I always brush in one direction in order to get an even coat, and you should too. Make sure to let it dry before continuing.
Step Five: Glass
It’s now time to clean the frame’s glass, so that it will look new and fresh for your art print.
Wear gloves for protection and use a mixture of water and dish soap to clean it, thoroughly wiping off every bit of mess.
Gloves will also help to keep fingerprints off the side of the glass that will be touching the art print, which is essential to the art’s condition.
Once washed, use a clean dish towel to dry the glass. Make sure that doesn’t leave lint! If it does, I’ve found that using some old newspaper removes the lint well.
Wait until the glass is completely dry before continuing.
Step Six: Mat Art
I’m going to mat the art by laying the art on top of it, because I’ve always found it to be the easiest method.
Make sure your hands are clean and dry, then place your art in the center of the mat paper. Use a strip of artist’s tape to then secure the top of the art, so that it keeps perfectly centered.
Step Seven: Mat Hinge
After that, lift your art up and turn it up away from you, leaving the mat paper where it is.
Then get two more strips of artist’s tape and attach them vertically onto the art, so that it’s attached to the mat paper like it’s on a hinge.
Next, fold your art print back down to where it was before, but remove the original horizontal artist’s tape.
Step Eight: Your “New” Frame
Finally, it’s time to assemble! Put the clean glass back into the frame (avoid fingerprint stains still), then insert the art with its mat paper.
Finally, carefully put the first back layer back in. Use tacks or little nails to keep it there, using a screwdriver or hammer respectively. Place them evenly around.
I’ve found that adding some new kraft paper on top of this layer will help to give you a more protected piece too, and you can attach that with glue.
Additionally, you might want to attach a picture wire. To do this, get two D-ring hangers and screw one in-line either side of the frame, before putting the picture-wire through them.
Frequently Asked Questions
Where Can I Get Old Picture Frames?
There are various places that you can buy old picture frames from, and you’ll find that they’re pretty cheap.
An antique shop or a charity shop can be a good place to start, or you can even look on places like eBay.
Additionally, an art shop may have older frames for low prices.
Why Do Picture Frames Cost So Much?
You may be wondering why new picture frames cost so much in the first place.
The key reason is that the shops that sell them have to buy them in bulk, and they offer a wide variety of them on top of that, and so the prices have to be kept high for them to bring in more.
Final Thoughts
A frame for your art print doesn’t have to be expensive! Follow these steps and you can revitalize an older, cheap frame.