
How To Change Cricut Blade
Cricut machines are great pieces of technology, and, like any piece of technology, the blades need to be changed fairly often. You will need to change the blade on your cricut machine more often if you are using the machine to cut certain materials.
Changing the blade on a Cricut machine can seem like a very daunting task, as you want to make sure that you do it just right.
You are in the best hands with us, as our many years of experience with Cricut’s many devices has allowed us to develop expert skills to get the best out of all of these devices.
Through our many years of experience, we’ve been able to determine the very best way to change the blade on your Cricut device!
This article will run through the steps you need to take in order to change the cricut blade. You won’t get clearer instructions on how to change this blade than in this article so don’t go anywhere!
1. Remove The Blade Housing From Your Machine
The first stage that you need to take when you are attempting to change your cricut blade is to remove the blade housing from the machine.
There are two different ways to do this depending on the machine that you have.
- On an Explore or a Maker machine, you will need to open up clamp B on the tool holder.
- If you are using an older model, you will be required to unscrew the arms that are there to hold the Cricut machine in place. These arms are black.
When I tested this, I found it quite challenging to remove the blade housing. However, if you follow these steps then you will have no trouble.
In order to change the blade you will be required to access the inside of the machine to reach the cutting assembly.
When you open up the machine, the cutting assembly will be found inside the plotter and it will likely be the first thing that you see.
After loosening the clamp, you will then need to slip out the housing of the blade.
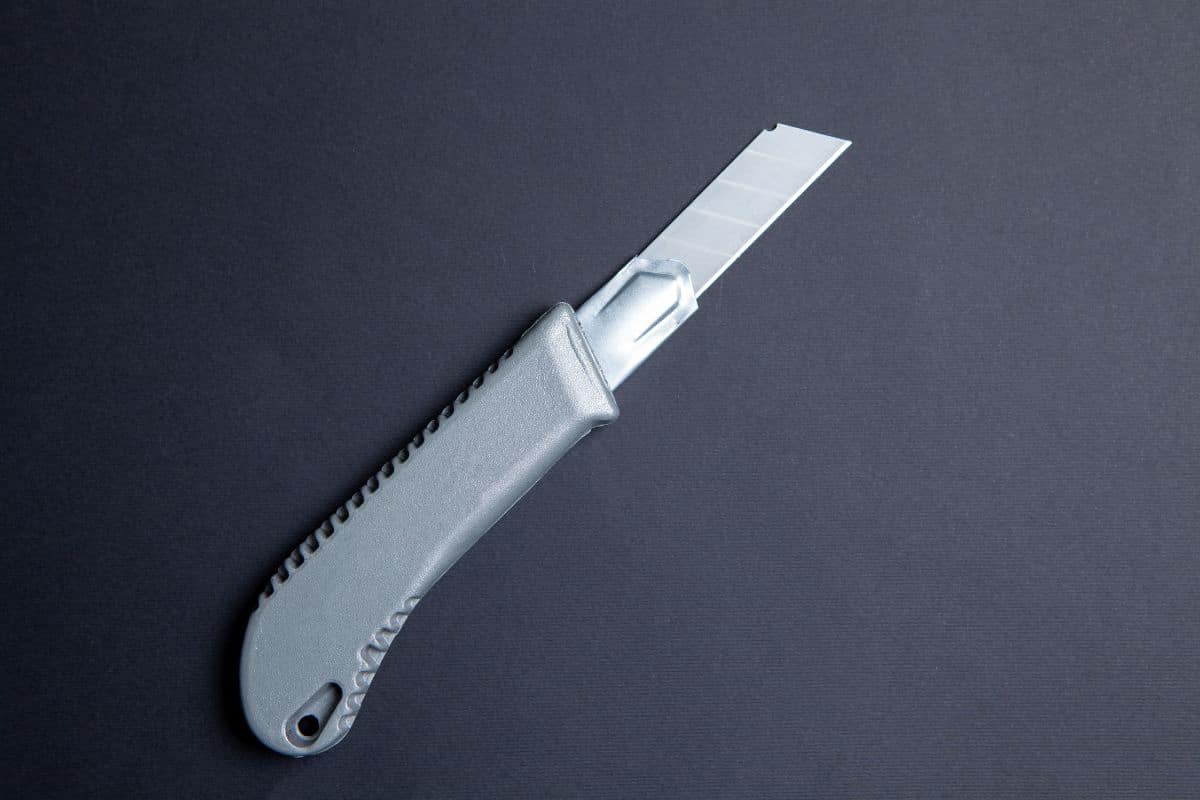
2. Take The Blade Out
The next stage is to remove the blade from the housing. All of the main blade housing options have small plungers located on them.
Fine-point, premium fine-point, deep cut and deep point blade housings have these on them.
You should ensure that, when you are removing the blade, it is located over a cutting mat or something to catch the blade in.
This is because the blades are very small and can get lost very easily and this really isn’t something you want floating around on the floor!
The type of blade that you are removing does change the way that you will need to replace it somewhat.
If you are looking to replace a knife blade, you will be required to place a changing lid on top of the housing sleeve and blade.
This will need to be on the blade side, to prevent you getting cut. You will receive one of these when you buy the replacement blade to help you to change the blade successfully.
Once you have applied the changing lid, you will need to hold the housing tightly and twist the changing cap counterclockwise. Next, turn the housing over and you should be able to easily slide the blade out.
Rotary blades also require a blade changing kit to change the blade safely. This will be provided with the new blade upon purchase.
You will need to place the empty changing cap over the blade and loosen the blade nut with a screwdriver. You should leave the old blade in the changing cap to prevent yourself from getting cut.
Tip: Be super careful on this stage of the blade changing process. You should make sure to discard the blade safely, or store them safely if you want to keep them. They can come in useful if you need a blade for a crafting emergency.
3. Get Your New Blade Ready
When you purchase your new blade, it will be in the plastic cover. At this stage, you should remove the blade from the casing.
If the blade you are changing is a knife blade or a rotary blade, then they will come with changing caps which are designed to cover the blade and prevent injury.
After my testing, I want to highlight that you need to make sure that you have chosen the correct blade to replace the old one with.
4. Put The New Blade In
Fine-Point, Deep-Point, Deep-Cut And Premium Fine-Point Blades.
These types of blades are fairly easy to insert into the housing. All you need to do is hold onto the blade by the cutting end and slot it into the blade housing.
There is a magnet inside the machine which will allow the blade to easily remain in place.
A correctly installed blade will see the tip protruding from the housing.
Knife Point Blades
A knife point blade is slightly different. You will need to place the new blade into the slot in the housing and align the indent on the blade with the section inside the housing with a groove.
You should then twist the changing cap firmly after you have replaced the housing screw. The changing cap can then be removed.
Rotary Blades
This is similar to the knife point blade. Insert the blade into the slot at the rear of the housing, replace the housing screw and tighten it.
5. Reinstall The Housing
The final stage is to replace the blade housing that you removed from your machine in step 1.
In the Explore or Maker, you will need to place the blade housing back on clamp B and then push down the clamp.
Ensure that it is lined up correctly. In some cases, this requires a small amount of pressure. When this is done, clamp A and B should align.
If you are using an older model of the Cricut machine, the housing will need to be placed under the black tool arm. You will then need to tighten the arms.
Tips For Changing Your Blade
- You don’t need to rush to change your blades. It is a good idea to sharpen the Cricut blades first before replacing them.
- Cover your unused and spare blades. This is very important in order to avoid getting injured by uncovered blades.
- Make sure that you are using the correct blade and the correct housing. You don’t want to damage the machine by using the incorrect equipment.
Frequently Asked Questions
– You don’t need to rush to change your blades. It is a good idea to sharpen the Cricut blades first before replacing them.
– Cover your unused and spare blades. This is very important in order to avoid getting injured by uncovered blades.
– Make sure that you are using the correct blade and the correct housing. You don’t want to damage the machine by using the incorrect equipment.
It is fairly easy to change a cricut blade. If you follow these instructions then you should have no problem at all!
Final Thoughts
Now you should be able to change your cricut blade with ease. Make sure that you follow the steps laid out above in order to change your blade safely and efficiently.
Remember not to rush the process as you don’t want to injure yourself when dealing with such sharp objects!