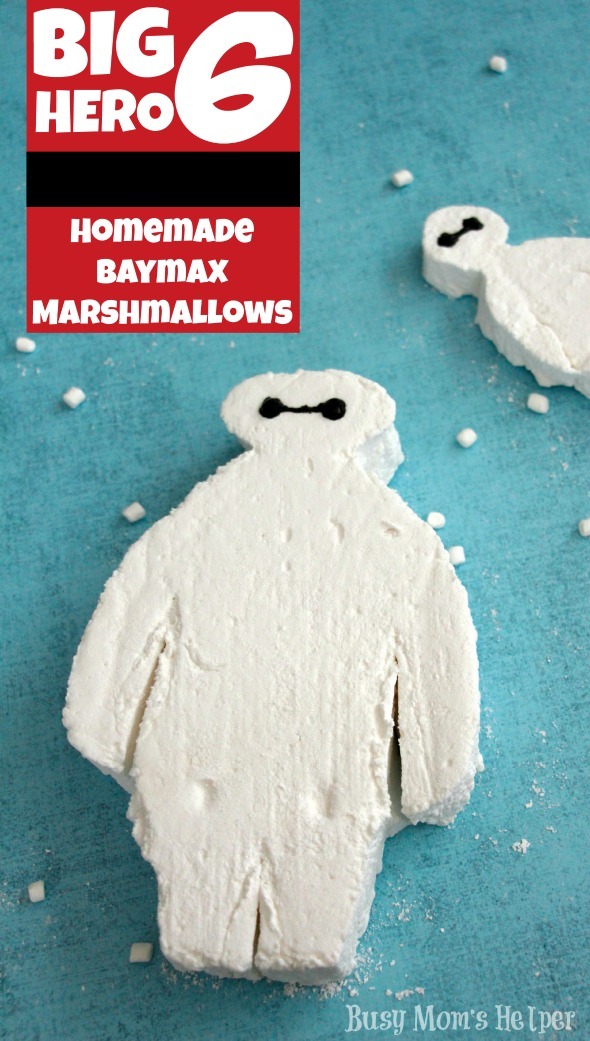
Homemade Baymax Marshmallows
Who else is absolutely obsessed with Superheros? Our family is MAJORLY in love with all that nerdy goodness, as anyone who knows us, or follows here regularly, will know! Lately we’ve really been crushing on Big Hero 6, especially the oh-so-lovable Baymax! So this year for the kids’ Valentine’s, I decided to do Homemade Baymax Marshmallows!
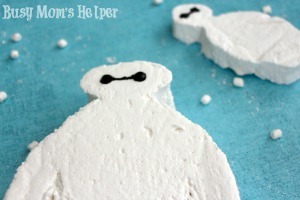
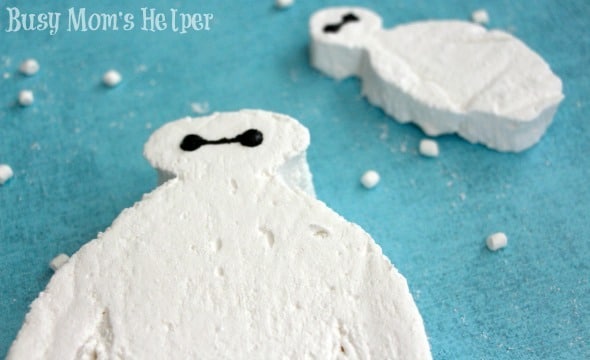
Aren’t these super fun? You can make them as big (that large one is a little bigger than my hand!) or mini versions, depending on what you’re wanting.
At first I was a bit intimidated about making my own marshmallows, but it was actually super easy! Enough so that I made a FEW batches! I’m glad we’re sharing these with others, otherwise I’d be on calorie overload for sure!
Ingredients
- 2 envelopes Unflavored Gelatin
- 1 1/2 cups Sugar
- 2/3 cup Light Corn Syrup
- 1/8 tsp. Salt
- 1 tsp. Vanilla Extract
- Powdered Sugar – for coating
- Veggie or Olive Oil – for coating
- Black frosting – for eyes
Directions
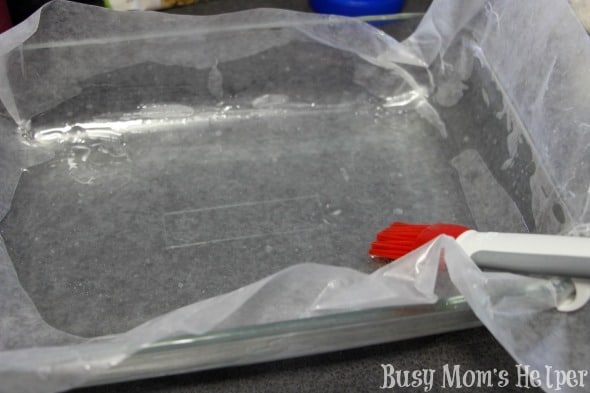
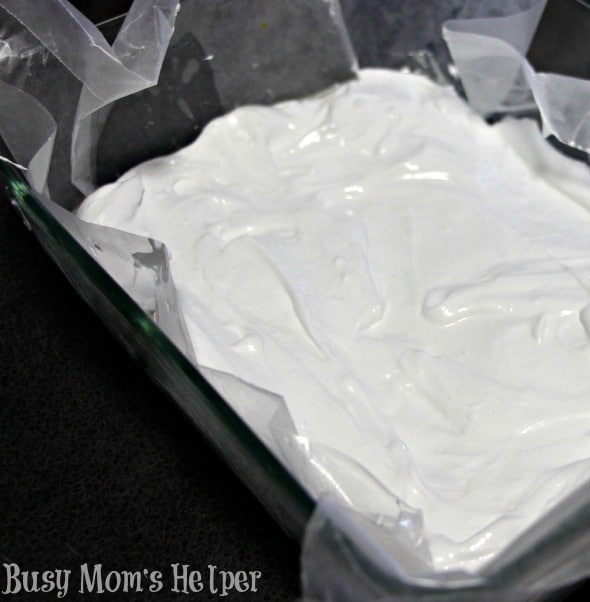
- If you want THICK marshmallows, use a 9×13 baking dish. For thinner/average thickness use one or two cookie sheets. Take your dish or cookie sheet of choice and brush with oil. Cover with parchment paper, letting the edges stick up over the sides, then brush the parchment paper with oil also (this makes handling the marshmallows MUCH easier). Set aside.
- In a saucepan, heat the sugar, corn syrup, salt and 1/3 cup water over medium-high heat. Stir frequently until the sugar is dissolved.
 Continue boiling WITHOUT stirring about 7-9 minutes.
 - MEANWHILE: In a mixer, pour 1/3 cup COLD water, then sprinkle the gelatin over top. Allow it to sit for about 5 minutes.
- When done, pour the hot sugar mixture into the mixer on top of the gelatin and whisk. Start slowly, then increase speeds to high.
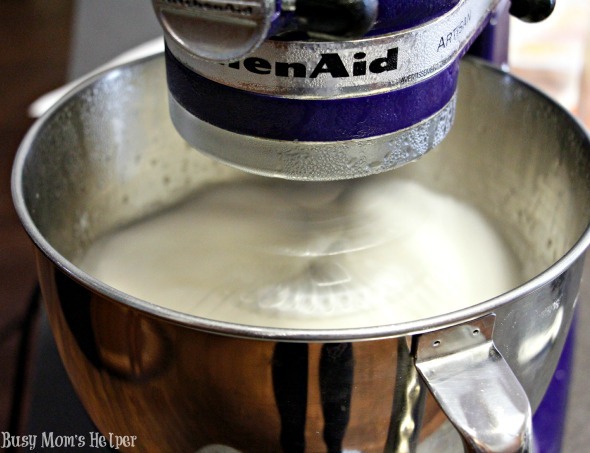 Beat until stiff peaks form, about 10-20 minutes. Add in the vanilla until combined.
 - Spread the marshmallow mix quickly into your prepared dish/cookie sheet and smooth the top. Allow it to set for 3 hours.
- Spread some powdered sugar on your work surface. Remove the marshmallow sheet onto it, sprinkling powdered sugar on top.
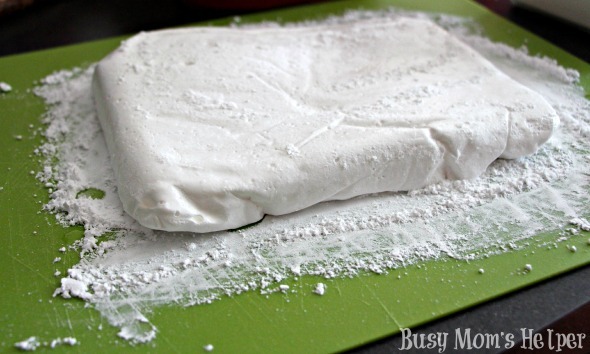 This fixes the sticky parts. Take a knife or cookie cutter, brush it with oil, then cut out your desired shape (Baymax!!! It’s easy, he’s got the head, then a poofy belly. Then just cut out a line for his arms and his legs).
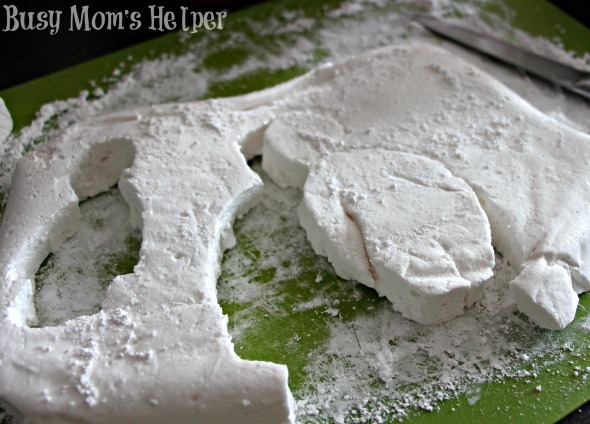
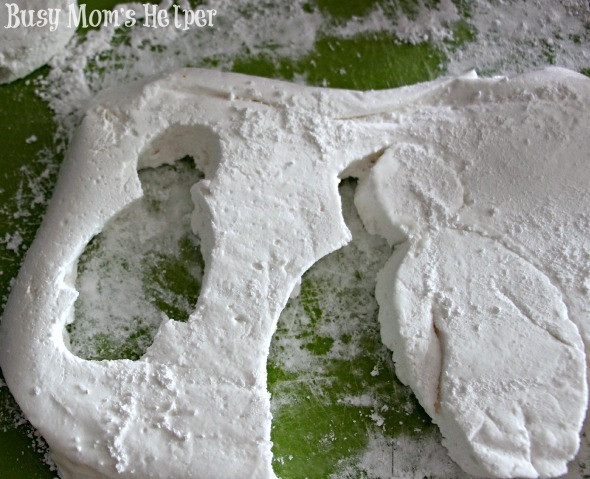 Roll in powdered sugar to coat all the sticky sides.
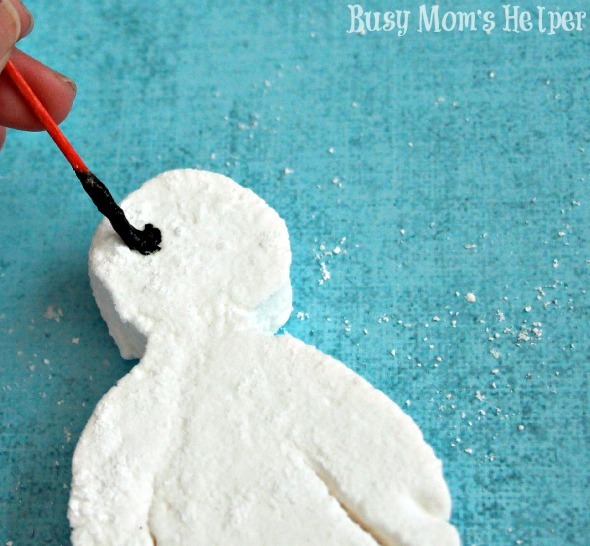
 - Use black frosting with a writing tip or a toothpick to create his eyes.
 You’re done! Store in an airtight container up to 3 days.
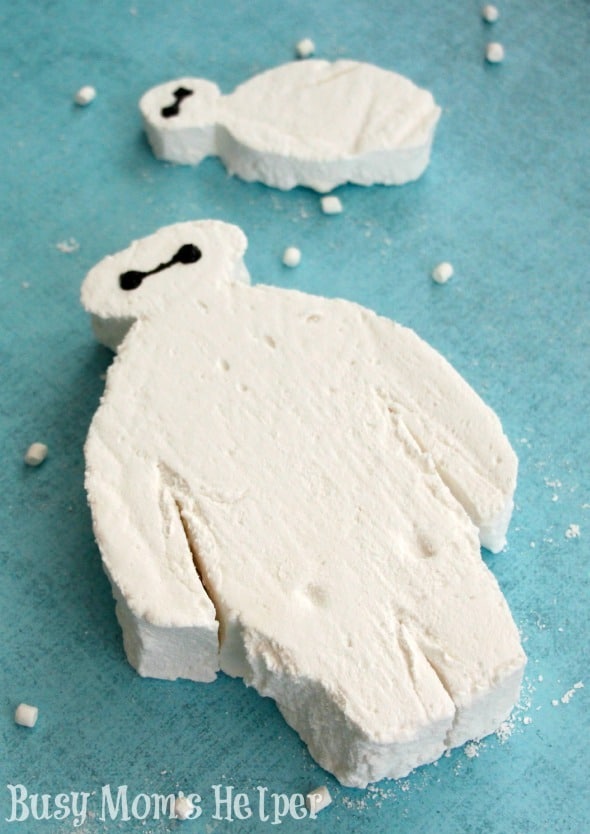
If you want, you could dip your marshmallows in white melting chocolate for a little ‘coating’, but that’s up to you. My kids are so in love with their ‘puffy’ Baymax treats, and are super excited to give them to their friends!