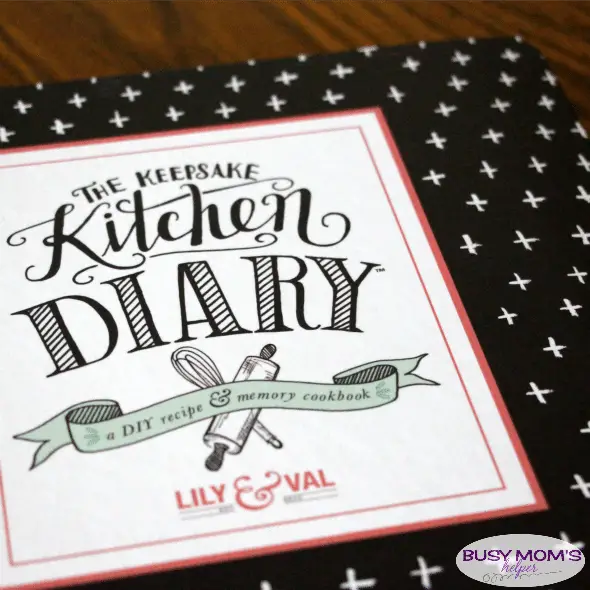
I received a free copy of this item to help facilitate this review. All opinions are 100% mine. Who else believes food is such a
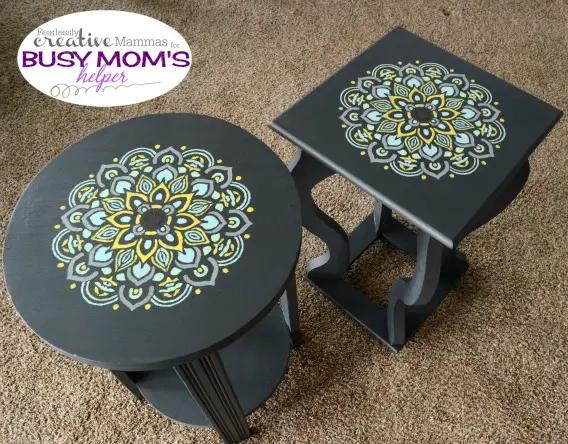
Have you ever started on a project, got part of the way through it and decided that you wanted to go a completely different direction?
This post contains affiliate links and I will be compensated if you make a purchase after clicking through my links. Guys, this is such a
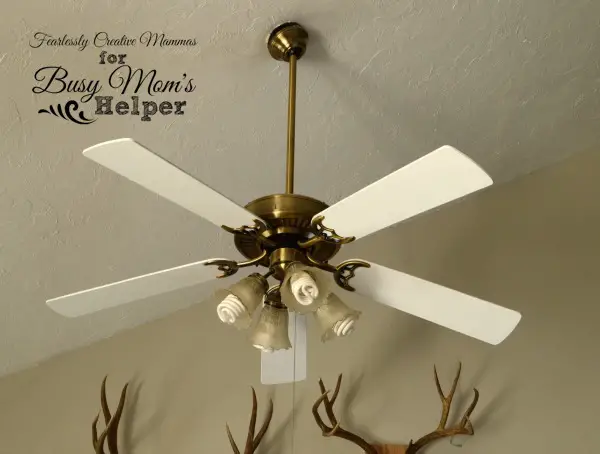
Do you have ceiling fans in your house? When you’re watching those home improvement shows, they always say that you should take down your ceiling
This post is sponsored by ChalkOla. All opinions and ideas are mine alone. I love markers, and coloring, and decorating. The only problem is that
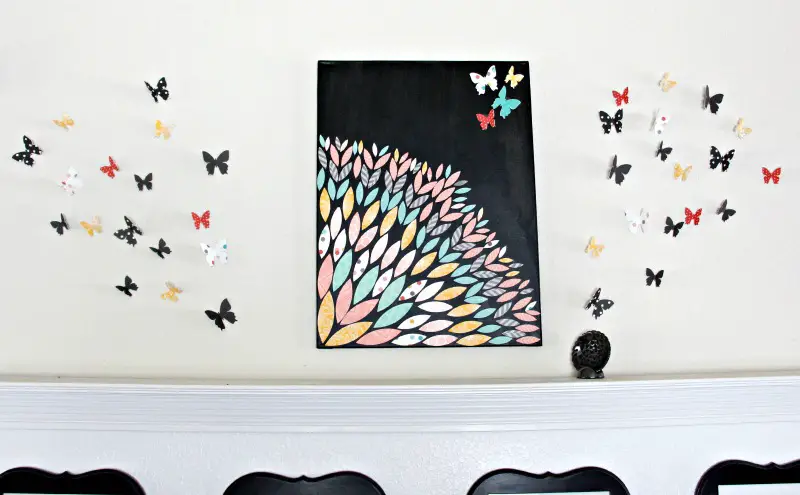
I’m so excited to be guest posting over at Tatertots & Jello today, sharing how I made some Colorful & Fun Wall Decor in an Afternoon using products
This post contains affiliate links. See my Disclosure Policy for more information. Happy Thanksgiving, y’all! We’re all pretty darn sick, so today will be mellow

Have you seen all the fabulously decorated front porches all over the blog-o-sphere lately? They’re amazing, and really make me wish I had the time
View More