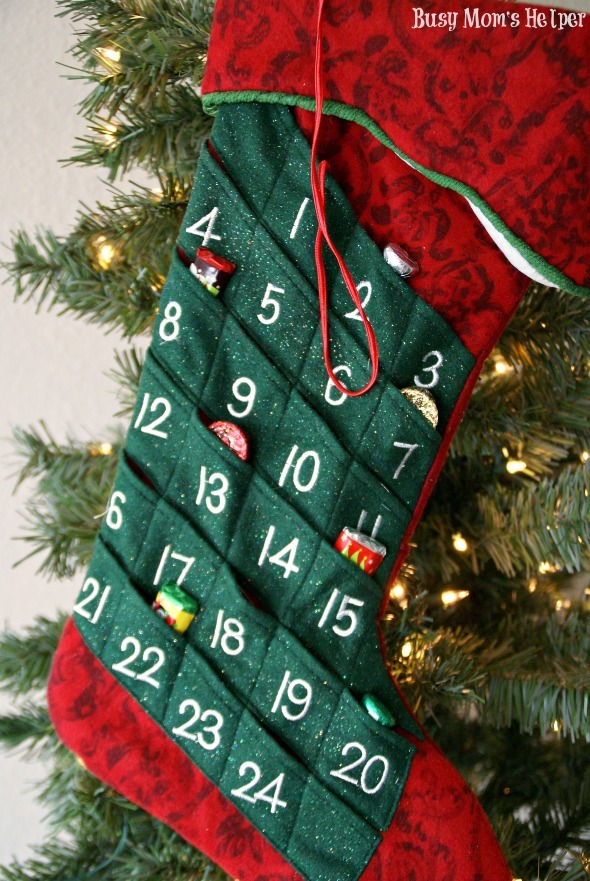
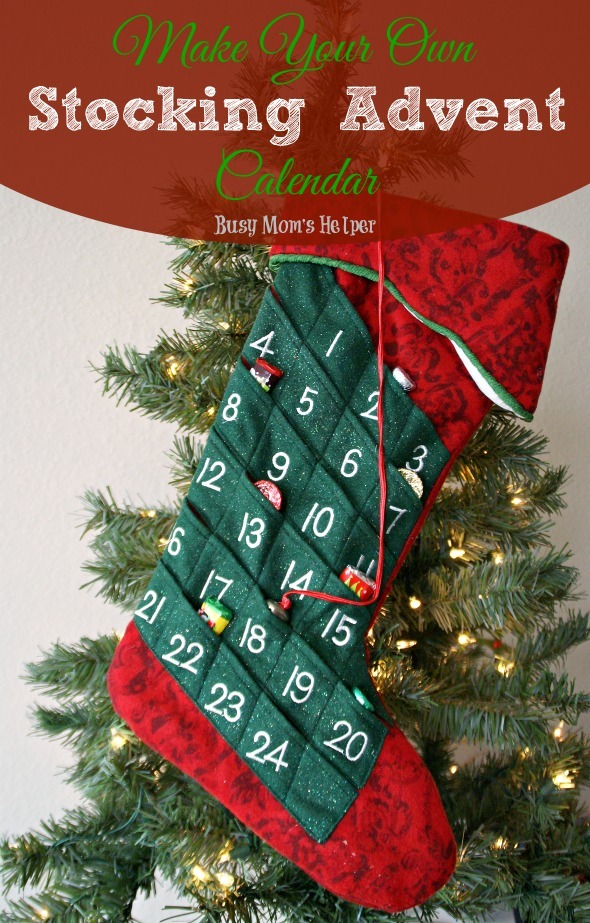
Make Your Own Stocking Advent Calendar
Wow, this project is a bit late getting up today, but there’s a really good reason (I’ll explain at the end). Just goes to show that even us bloggers, who may appear to have it all together online, are as much a mess as anyone else…possibly more so! I’ve been really excited to share this tutorial on how to Make Your Own Stocking Advent Calendar, and hope you enjoy it!
Now, I ended up doing more than one, so please don’t be confused if the pictures show different fabrics. ALL the tutorial steps are done from the same stocking advent calendar, so it shouldn’t be hard to follow these simple steps. Our kids love it when we pull ours out at Christmas, especially because we do put treats in ours for each day. You can do small toys, notes with a special surprise or activity for them, or whatever you want that works for your family! The point is, it’s a really beautiful and fun holiday decoration, plus gives the kids a way to count down the days!
Supplies Needed
- 1/2 yard Main color fabric (I’ve used felt, fleece and a silky one, you choose) – in the pics it’s the blue or the red
- 1/2 yard Secondary color fabric for the pockets – in the pics it’s the silver or green
- 1/4 yard lining (I use just a plain white, cheap fabric)
- 1/4 yard Quilt batting or thin foam lining
- Sewing machine, thread, scissors, pins, etc.
- Ribbon for a hanging loop
- Bell that fits into the little pockets
- Ribbon/rope/cord to hang the bell
- Ribbon for the trim along the top flap, if desired
- If you don’t want to/can’t sew the numbers on, you can get iron-on numbers or use puffy paint (I don’t recommend the last option, but it’s up to you)
Cut out your fabric
- Cut out your stocking shape…a total height of about 20″ and a width (toe to edge) of about 13″. This allows for the seams. What you will need of this shape: 2 Main Fabric, 1 batting/foam, 2 liners.
- Cut out the top over-flap….it’s one piece, folded on the fat edge (toe side of the stocking). Total height about 4″ on the low side, about 6.5″ on the tall side. Total length of 26.5″. What you will need of this shape: 1 Main Fbric, 1 batting/foam, 1 liner.
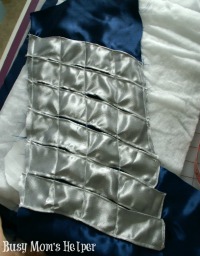
- Cut out your rows, about 11″ long and 2.5″ tall, this allows for seams.
The Pockets
- Sew a little hem along the top and bottom of each row, as well as the ends.
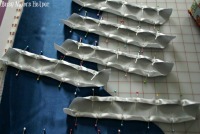
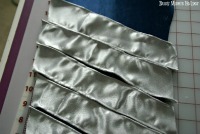
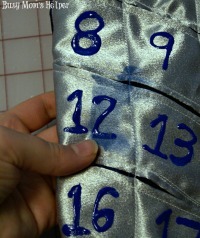
- Either sew on your numbers now (you’ll need 4 pockets on the top 4 rows, 5 on the bottom two rows….leave more room on the two sides to allow for seams and such. If you’re ironing or using puffy paint, you can wait until the end.
- Sew each row onto the front Main fabric piece. JUST the bottom, since the top needs to stay open.
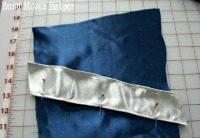
- Then sew the edges up the side of the stocking, so they don’t fold over funny.

- Going from the center, pin where you will sew DOWN the stocking, creating each little pocket. Keep in mind the edges will still be used in a seam, so allow room for that.
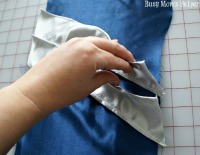
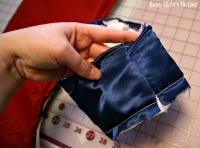
Put the Stocking together
- To sew the front and back of the stocking together, put the layers ‘inside out’….so the two white liner pieces will be on the outside. The foam/batting goes between the FRONT main piece and one of the lining pieces, and the other main fabric goes on the back.
- Pin and sew all the edges for a pretty seem (once it’s right-side out it’s pretty).
- Making sure you keep the top OPEN (the stocking will actually be open at the top, so you can put things inside if you want) also hem the top edges around.
- Sew together the top ‘flap’ pieces….main fabric, then batting/foam, then lining. Hem the top edges really nicely, then sew the two side ends together. So the pieces would stay together nicely, I quickly stitched along the bottom.
 If you’re going to add the trim to the flap edge, you’ll CAREFULLY fold the ribbon (so the middle edge) is sticking out between the main fabric and lining, then the edges sticking inside. It’s a bit tricky, but looks better. I don’t have photos of the trim, but will try to add some soon.
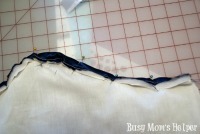
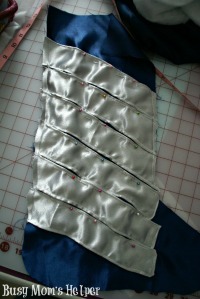
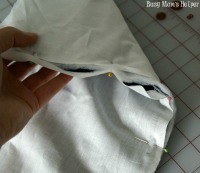
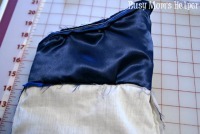
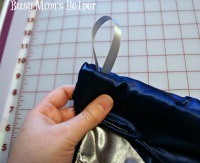
- You’ll then sew the bottom of the flap piece to the top of the stocking, as shown in these photos… The stocking is inside out, then put together at the top like this.

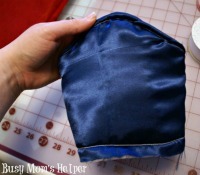
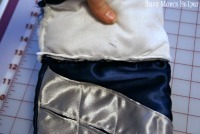 When you fold the flap over, it will look like this.
 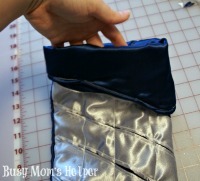 And the inside will look like this.
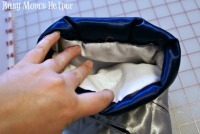
Finishing touches
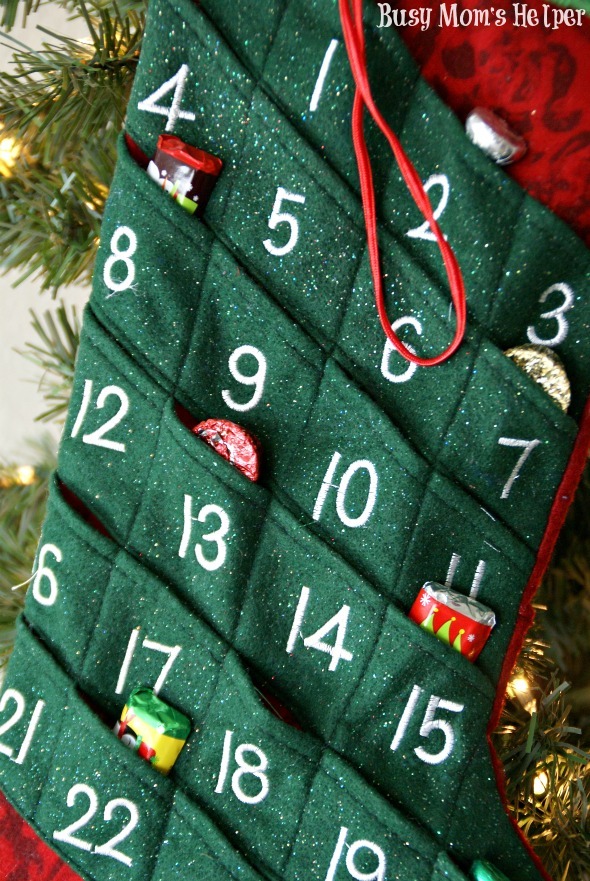
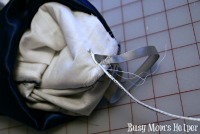
- Take a loop of ribbon and just sew it inside the stocking, so it hangs near the top edge, as shown.

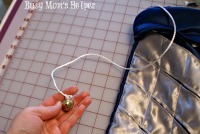
- Also sew in one end of the rope/ribbon/cord for the bell. Attach the other end to the bell, making sure the entire thing can reach the bottom pockets on the stocking.

- If you didn’t sew on the numbers, now you can iron them on, or use puffy paint.
THIS IS WHY I HAD ISSUES TODAY: I tried the puffy paint on this beautiful silver and blue Stocking Advent Calendar. It looked terrible….and we accidentally spilled some on one of the pockets so it smeared and looks AWFUL! I went to quickly remake that stocking, since I had enough fabric and such anyway….and my sewing machine decided to break. Until I can get that repaired, no ‘finished’ pics of the pretty silver/blue stocking 🙁
Having used various fabrics, I decided I prefer the felt/fleece best. It doesn’t slide around and wrinkle like the other shiny stuff. Go with what YOU prefer, though! We love our stocking, and can’t wait to get started on it in just over a week….so fun!