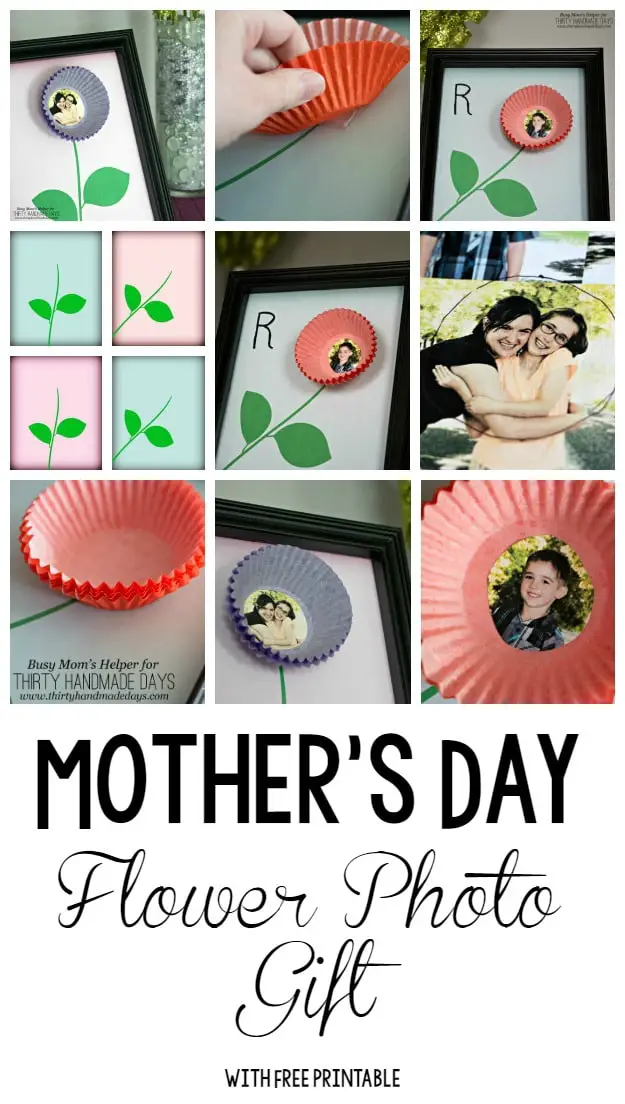
I can’t believe it’s almost Mother’s Day – but I guess that happens with every holiday lately! Totally creeps up on me, then it’s gone
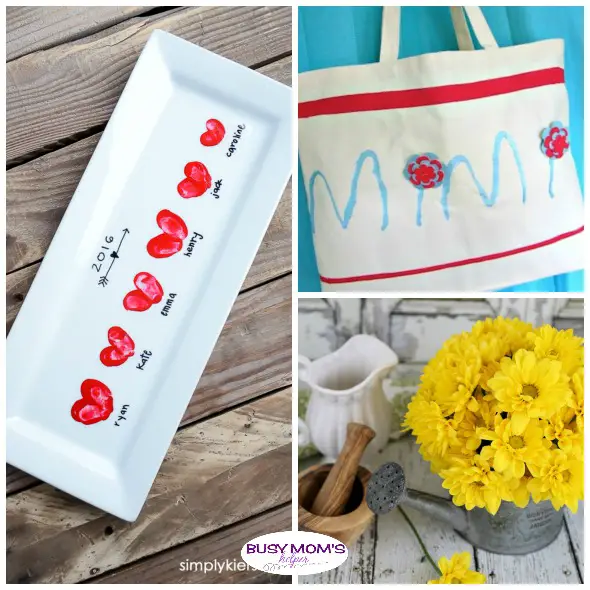
Mothers Day is coming up next month and I’ve been looking for ways to make sure the amazing moms and grandmothers in my life are

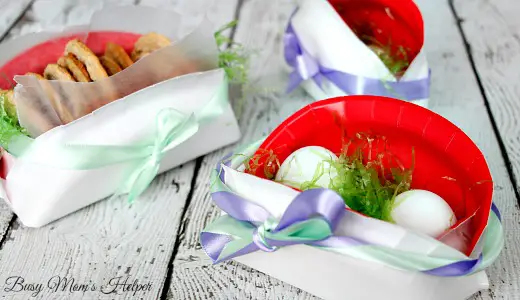
It’s almost Easter! Seriously, HOW is it almost Easter?! Luckily I can throw together a super quick & fun treat/gift for my kiddos and their
Who’s ready for this month’s Craft Lightning post? I sure am, and this month the theme is recycled crafts. I wanted something totally customizable, super
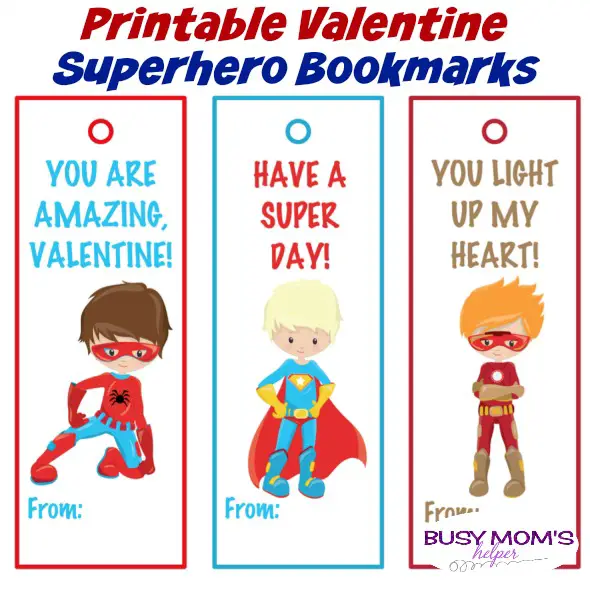
I’m all for encouraging reading in my kiddos, so fun bookmarks can be a huge help. With the upcoming holiday where they’ll exchange tons of
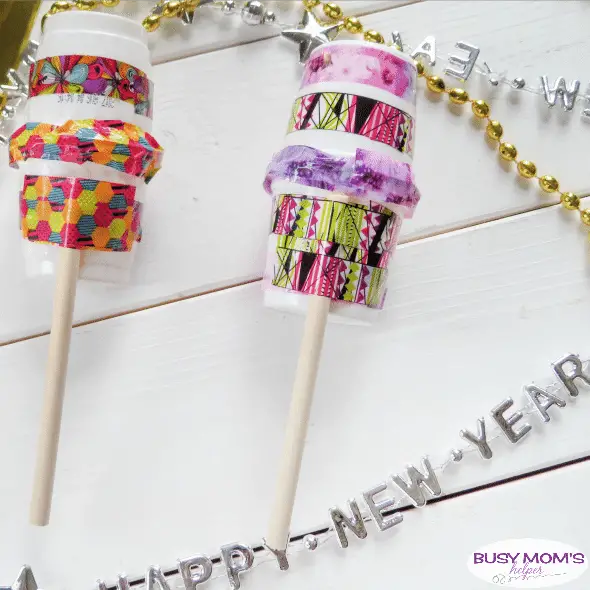
I’ll admit, we use to do more of a ‘party’ as a family for New Year’s Eve when we lived in Utah. There’d be tons

Not sure what to give someone because they’re super picky, change their mind, or always just get themselves what they want? Or maybe they live
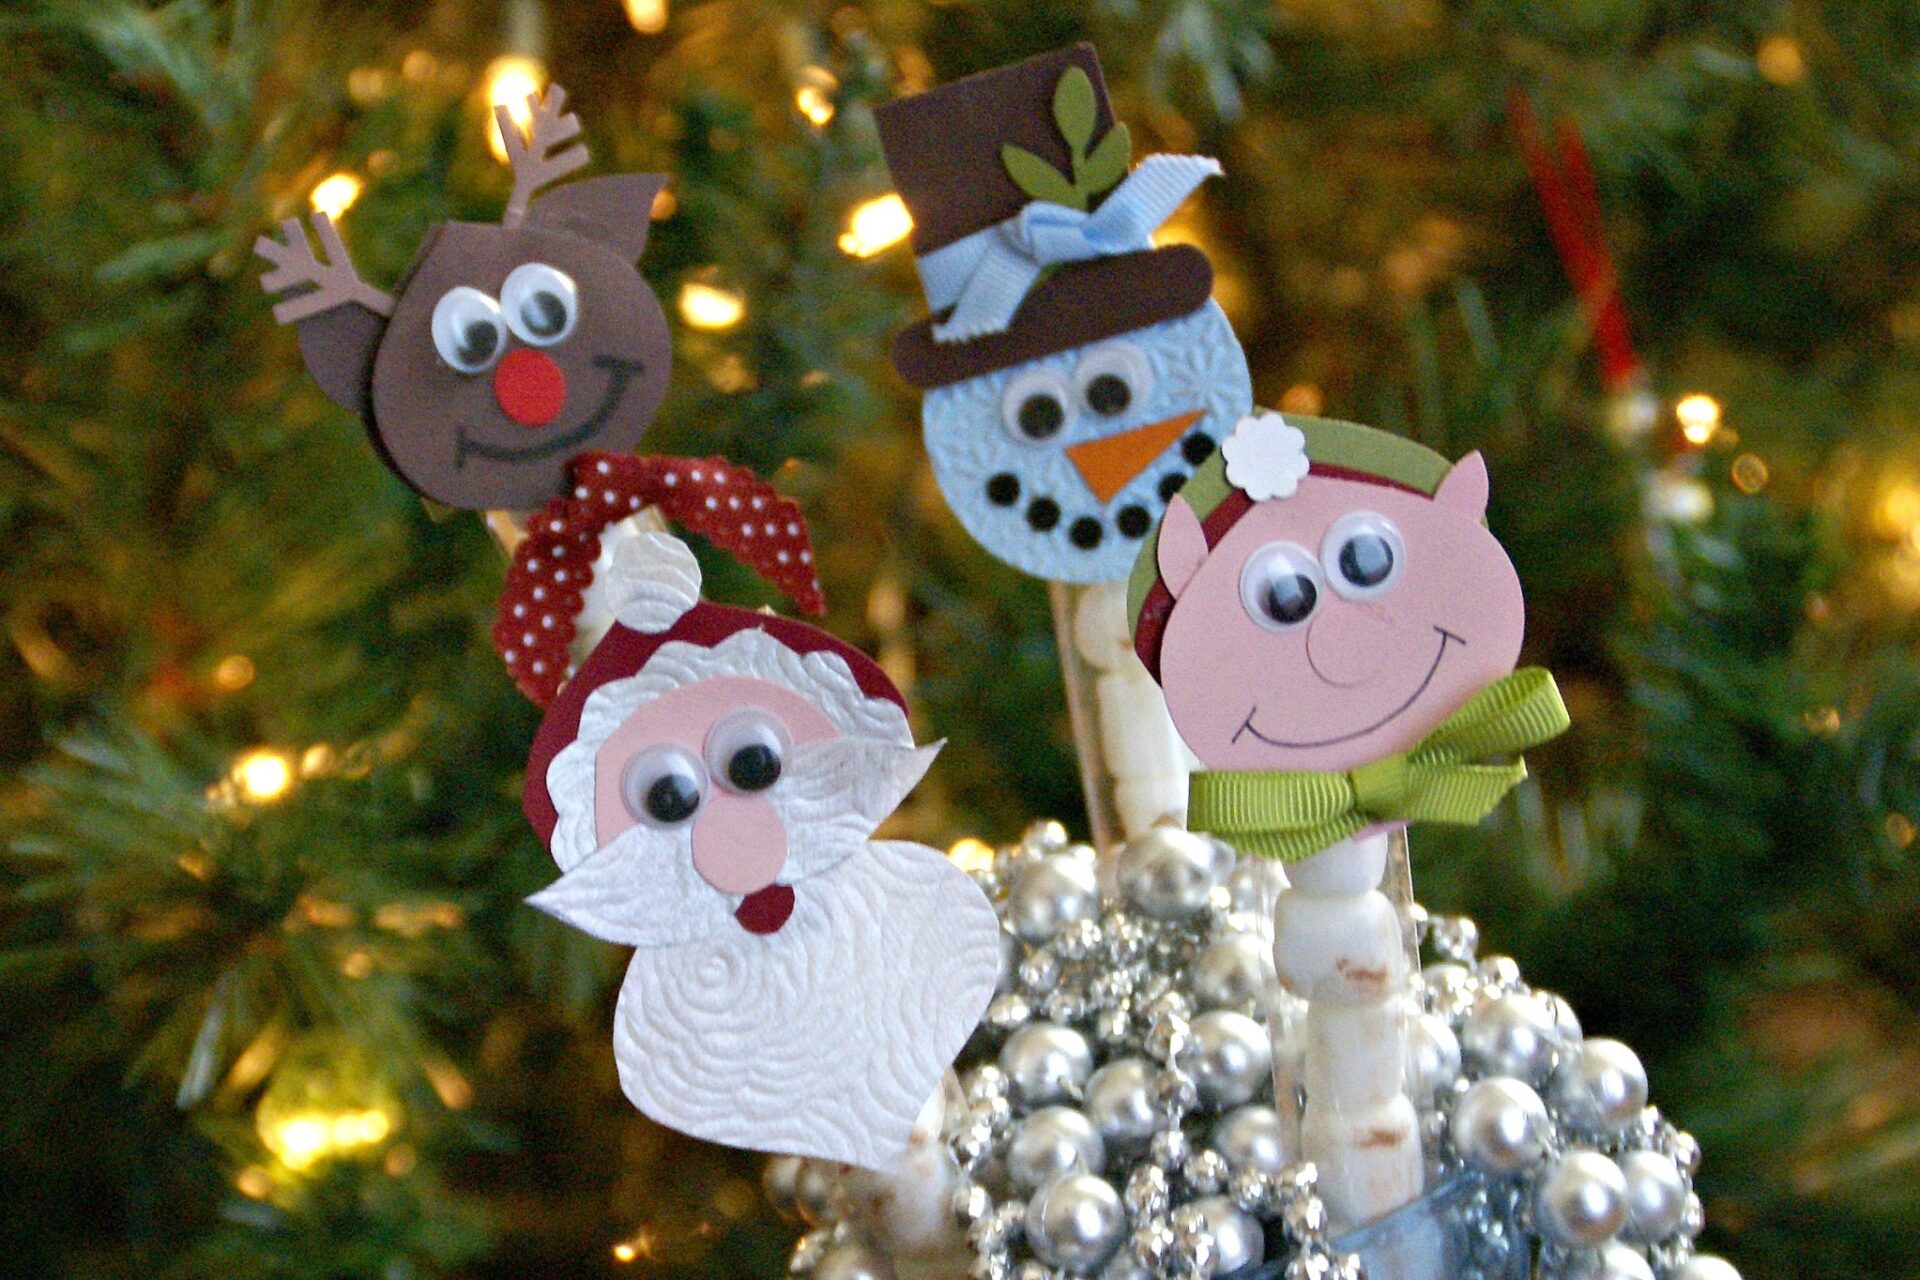
A couple years ago my mom and I saw these adorable little Treat Tubes at a craft show, and couldn’t wait to make some of
View More