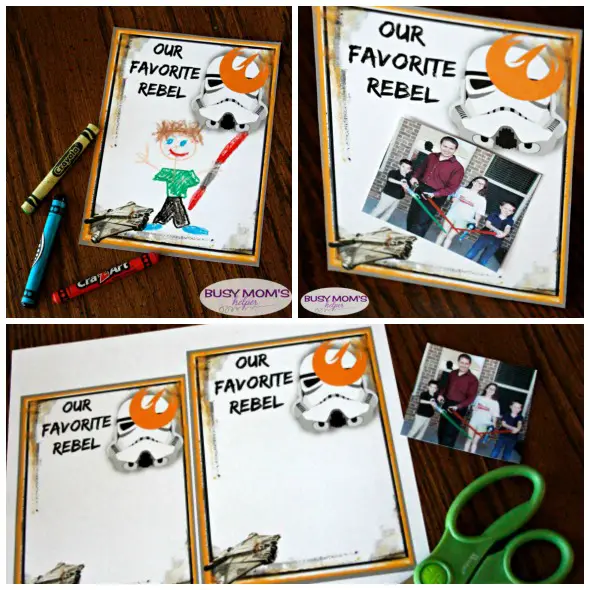
It’s our last day of Craft Lightning, filled with tons of easy Father’s Day crafts – so I’m sharing my favorite one: this ‘Our Favorite

I can’t believe how many fun Valentine’s Day activities there are for our kiddos, ranging from simple to full-on home decor! Since some kids do

Raising children is not an easy task. It may look easy from the outside, but trust us – it can be a hell of a
We’ve been out of school for a week. ONE WEEK. Already my kids have had moments when they pull the ‘I’m Bored’ card. Luckily there
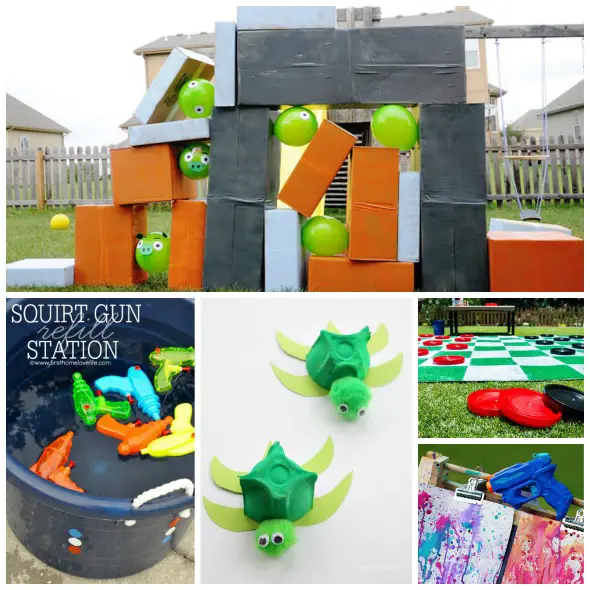
With summer in full swing, I want to have plenty of activities for me and the kids to do together! I also don’t want to
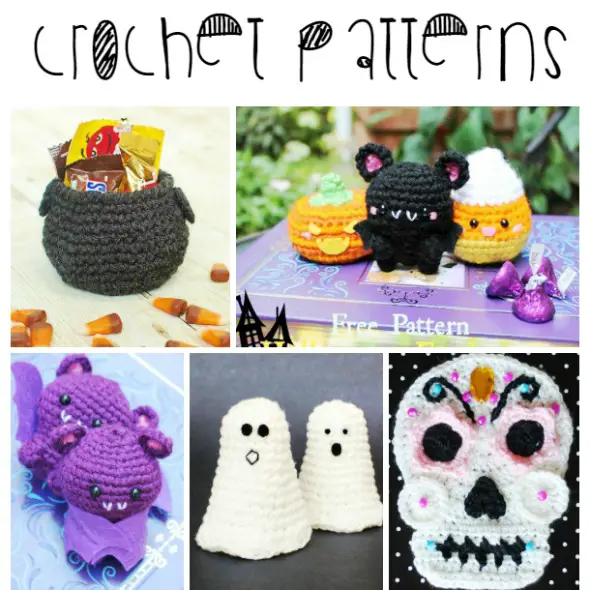
I’ll admit, I’ve never learned how to crochet. I think it requires either a patience or a skill that I just don’t posses. That being
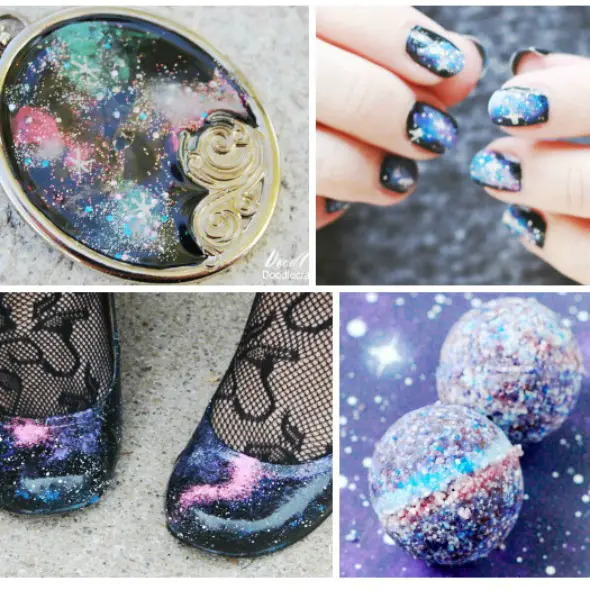
I’ve seen a lot of things lately that are galaxy themed. Parties, decorations, and everything. I agree it’s a fun trend & I like the
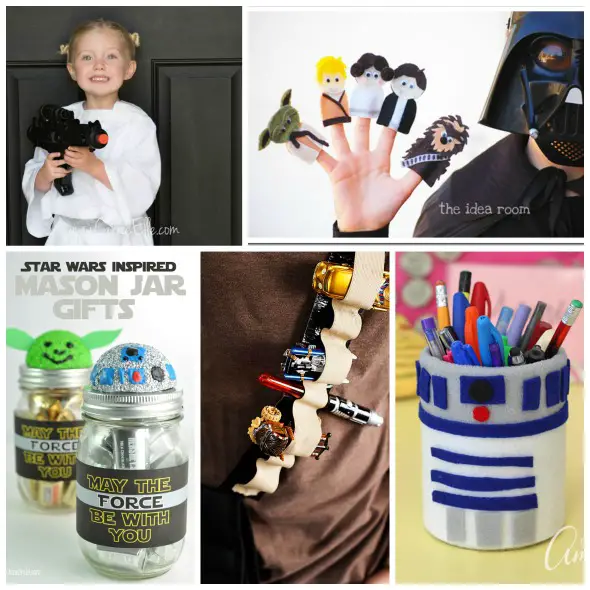
Whether you’re with the light side or dark side, you’ll love this Ultimate List of Star Wars Ideas for May the Fourth! Printables and crafts,
View More