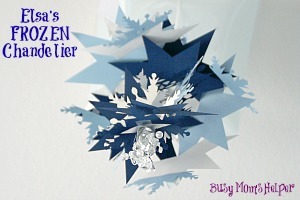
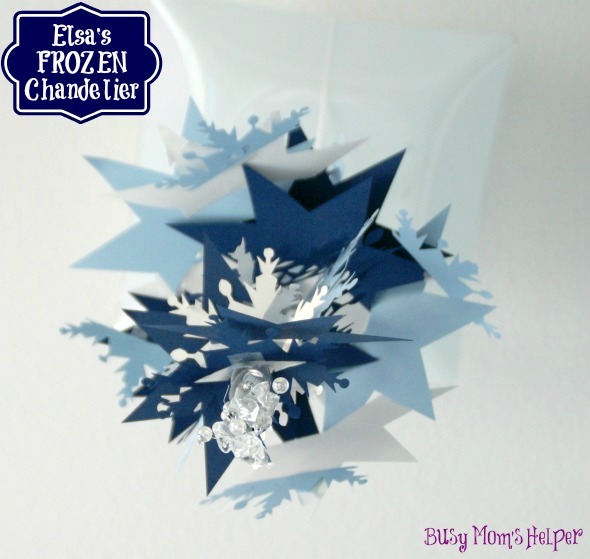
Elsa Frozen Chandelier
Want to give your kids’ light fixture a little ‘FROZEN’ touch? Why not give them an Elsa Frozen Chandelier?! It’s super easy, budget-friendly and really adds to the whole feel of their room.
For those of you that remember, Wonder Woman recently got her Frozen Inspired Bedroom Makeover. She loves it! One thing that a few of you have asked me, though, is HOW to make the Elsa Frozen Chandelier that’s hanging from her light fixture. Seriously, it is So. Dang. Easy!

Supplies Needed
- 1″ Wide, flat Ribbon (I used silver)
- Paper for snowflake/star shapes (blues, whites, silvers)
- Tape
- Sparkly ‘ice’ decor for dangles, if desired
- Hanging ribbon (just simple, thin ribbon works)
- Twist-tie (like used on bread)
Directions
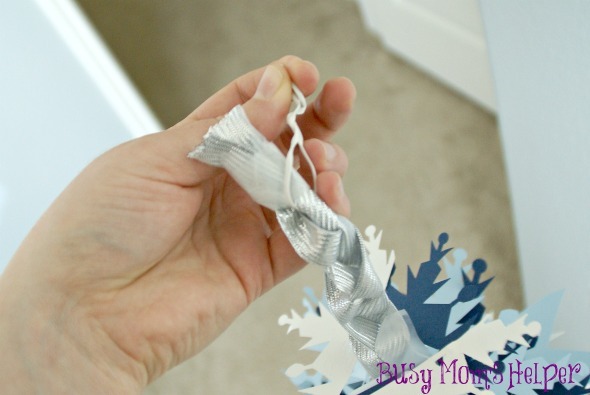
First, take that wide, flat ribbon and cut it into 3 long pieces. About as long as you’ll want the main part of your Chandelier. Tape one end off, then braid the rest.
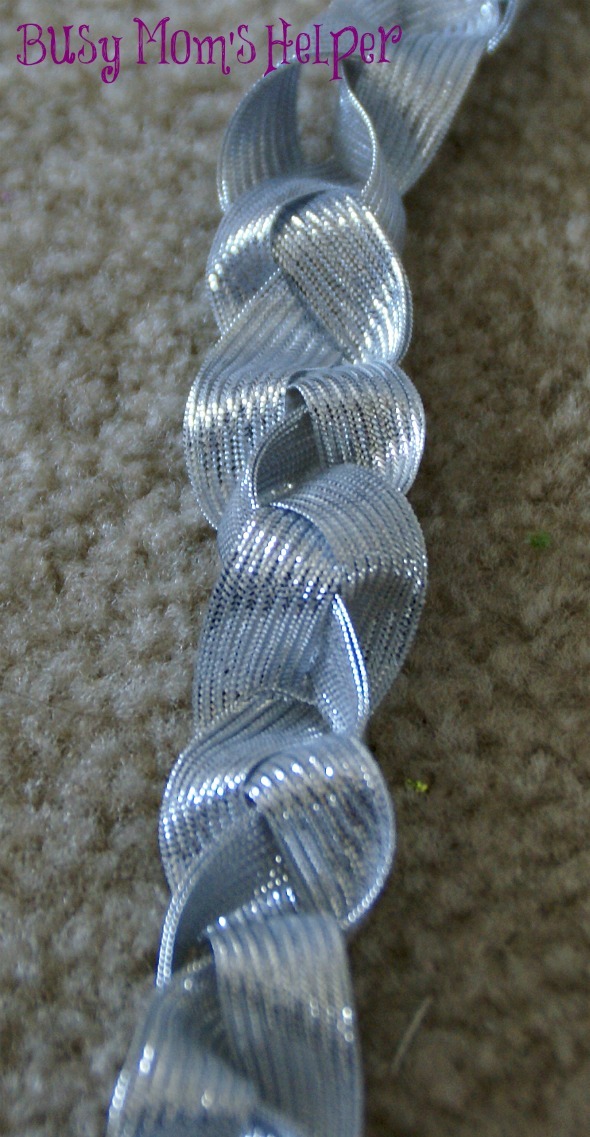
Secure the other end with tape, as well, to secure the braid. This will basically be the ‘skeleton’ of the chandelier.
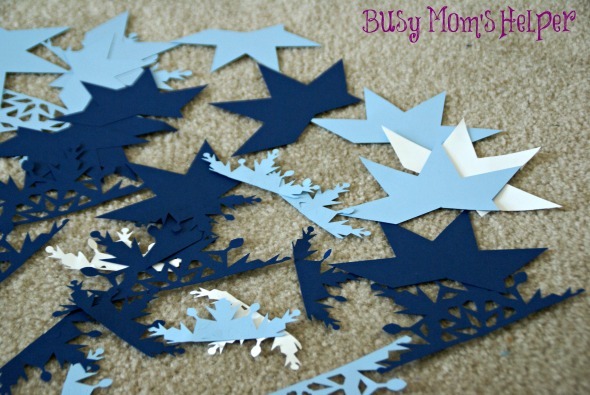
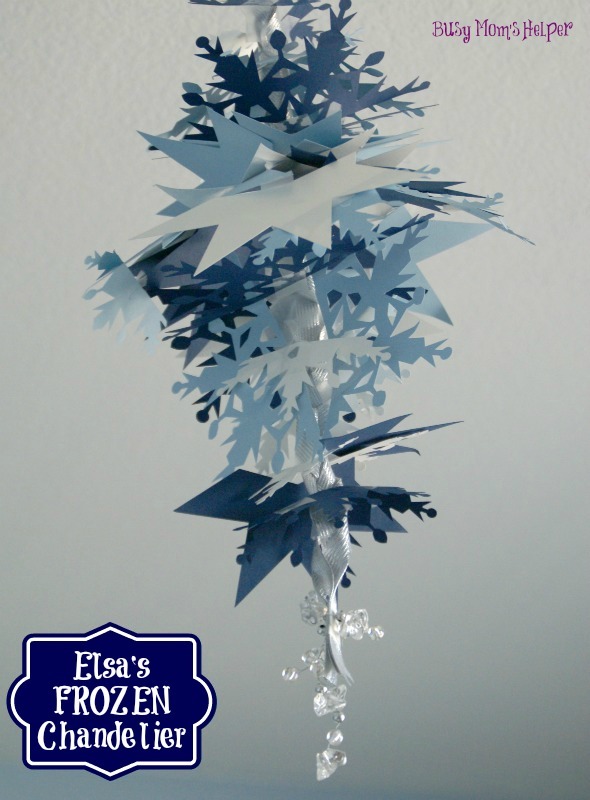
Cut out lots of half-star and half-snowflake shapes. Lots of pointy triangles works! Just imagine those ice crystals on Elsa’s Chandelier in the movie in her ice castle. I used my trusty Silhouette Cameo to do my shapes, which made it really nice!
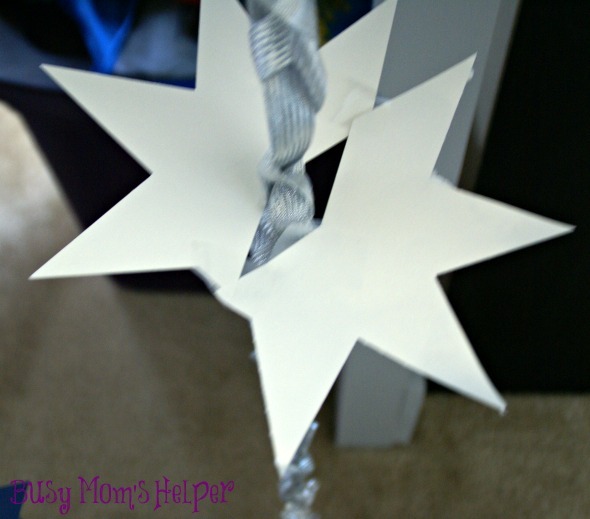
Now, if you see it in the movie, the chandelier is smaller on top, works it’s way thicker in the middle/almost bottom, then points thin at the very bottom. So I started in the middle. Just take a shape and tape it to the ‘skeleton’. I put the tape on the bottom, so it would almost ‘hold’ the shape upright so it sticks out nicely.

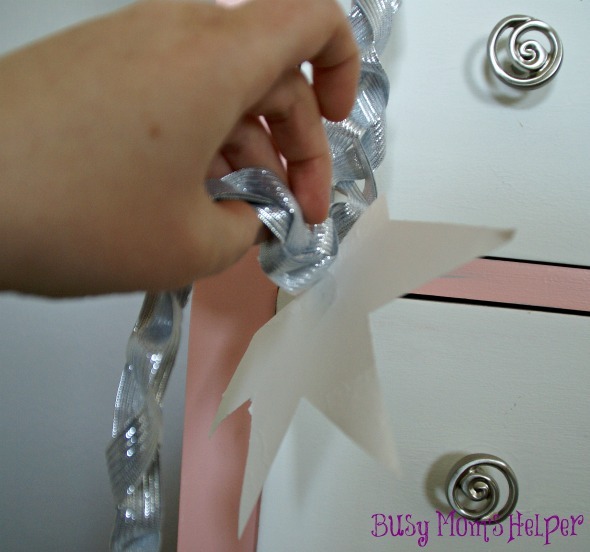
Add more shapes. I tried to keep it symmetrical, but in the end it was mostly random but still looked just fabulous!
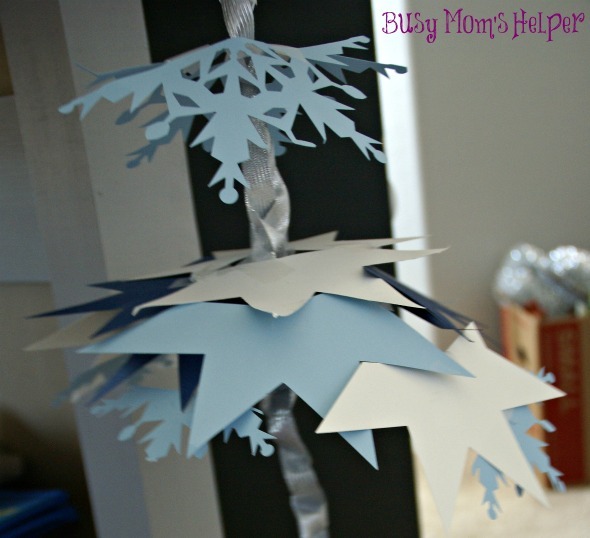
Keep adding shapes! In the thicker parts, I taped shapes onto the outside ends of the ribbon-taped shapes. This helped add pointy-ness to it, made it thicker, and really gave it the ‘full of snowflakes and ice crystals’ look.
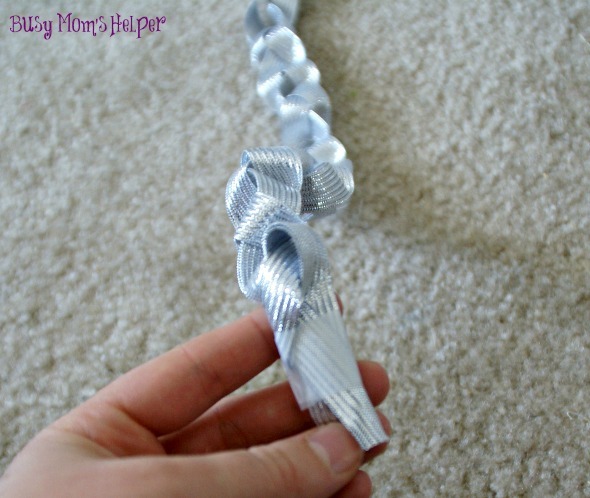
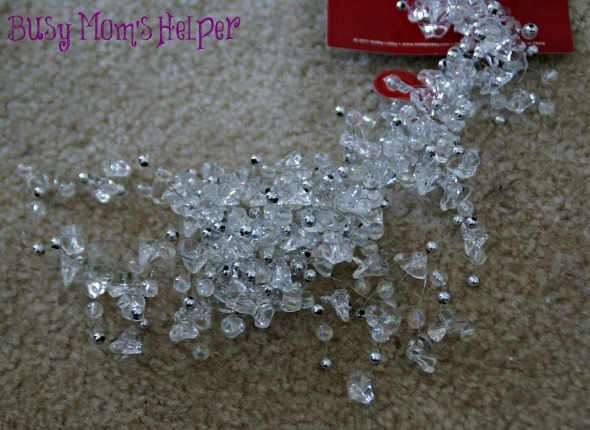
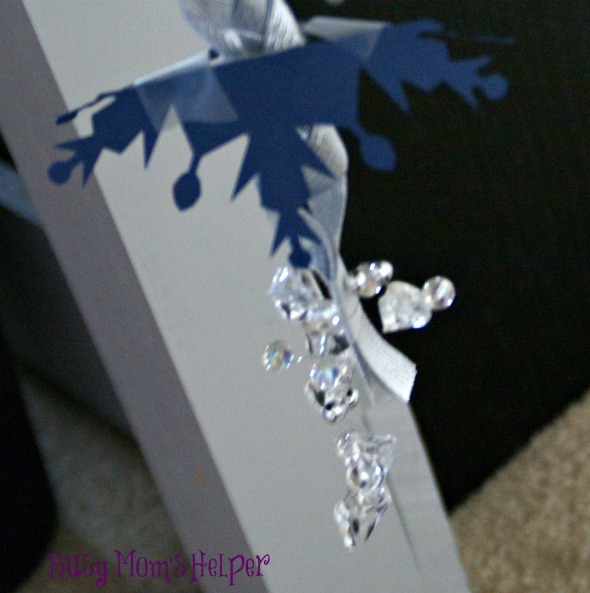
For the dangly ‘ice’ at the bottom of my chandelier, I got this bulky decor piece. Then I just cut off a small chunk from the end to use on the bottom of my light decor.
Here’s the piece I cut off:
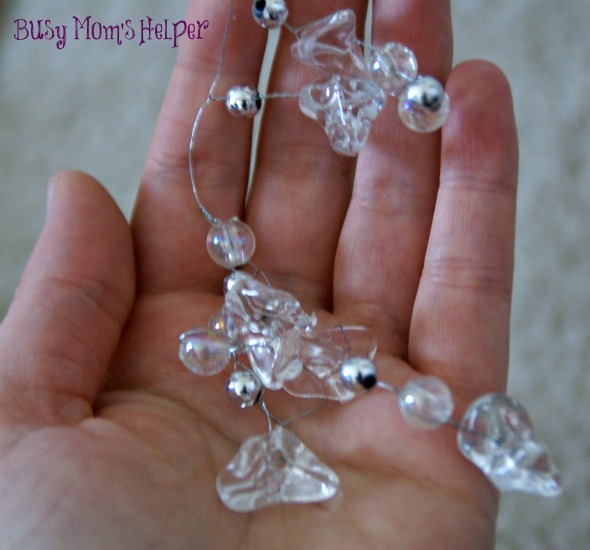
I just attached it right to the bottom of the ribbon-braid skeleton. This way, it hung lower and the taped-end didn’t stick out. It hid nicely under the ‘ice’ crystals!
Now, the current light fixture is UGLY! Seriously…totally ‘standard’ light. Since I don’t have it in the budget to replace that at the moment, I just hung my chandelier straight from it. I took some simple, thin ribbon and tied it securely around. I made sure it doesn’t come close at all to the light bulbs, to be safe.
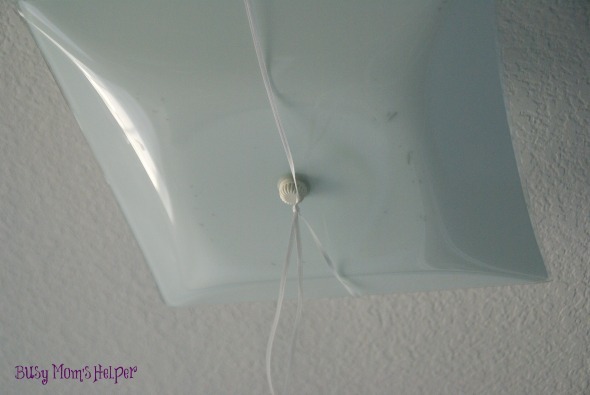
Then I took a twist-tie (like you use to tie off the ends of bread loaf bags?) and fastened it to the top end of the chandelier. This then was attached to the ribbon under the light fixture, and VIOLA! It hung quite well!
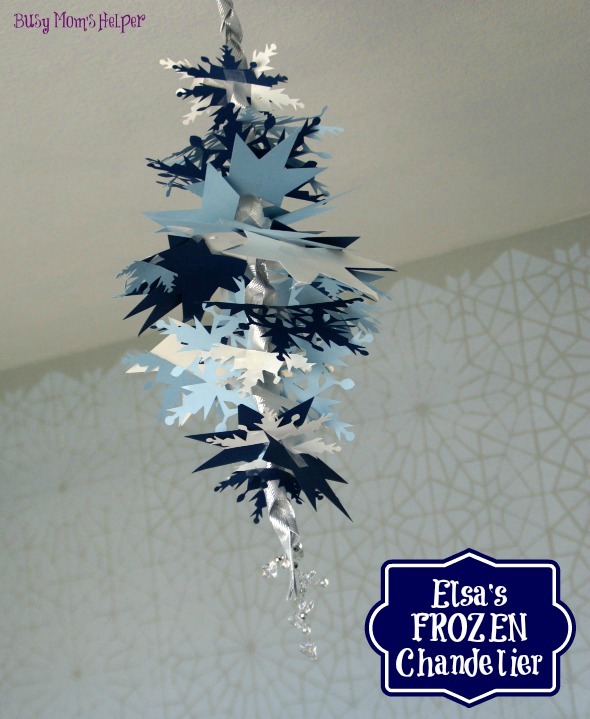
This is one of my (many) favorite parts of the Frozen Inspired Bedroom and it was so dang easy! PLUS I was able to get the ribbon AND sparkly attachments at the after-holiday clearance at Walmart. SCORE!
This Elsa Frozen Chandelier is MUCH cuter to look up at from her bed than just the boring light fixture. LOVE IT!
Want more FROZEN fun? Check out these other posts!!!
Disney’s FROZEN Elsa Dress Tutorial

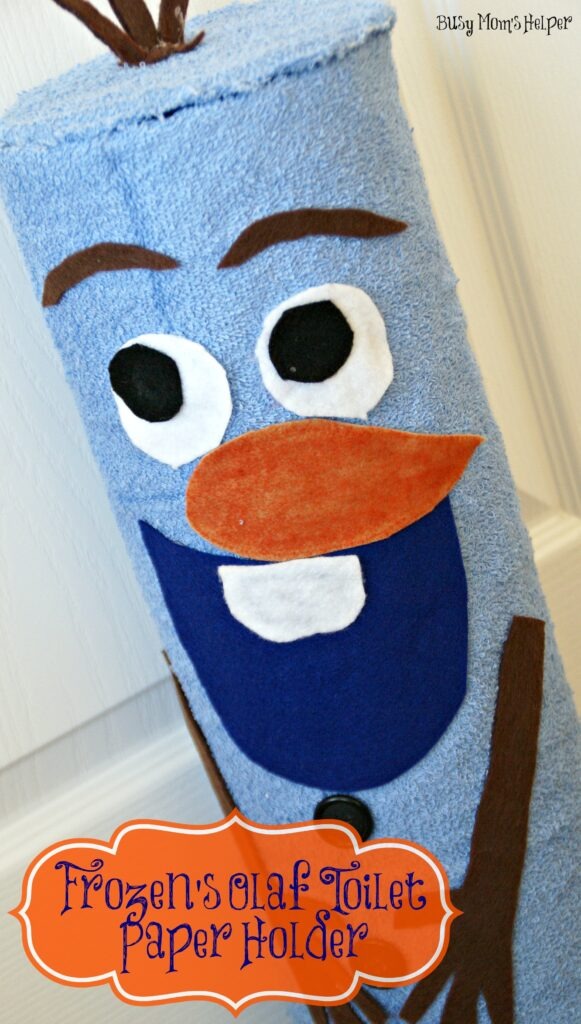
FROZEN’S Olaf Toilet Paper Holder Tutorial