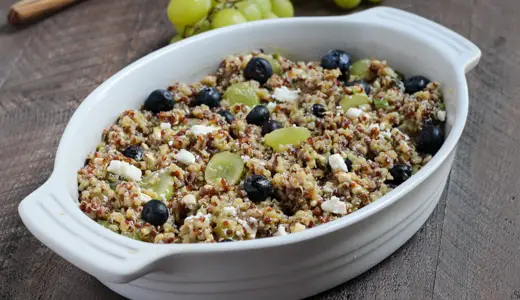
Happy Monday! This is Stephanie from Steph in Thyme, and today I am sharing a healthy side dish for your next supper or picnic. This

Are you a garlic fan? We sure are, especially garlic bread with spaghetti or other red-sauced pasta. I don’t often like spending tons of time,
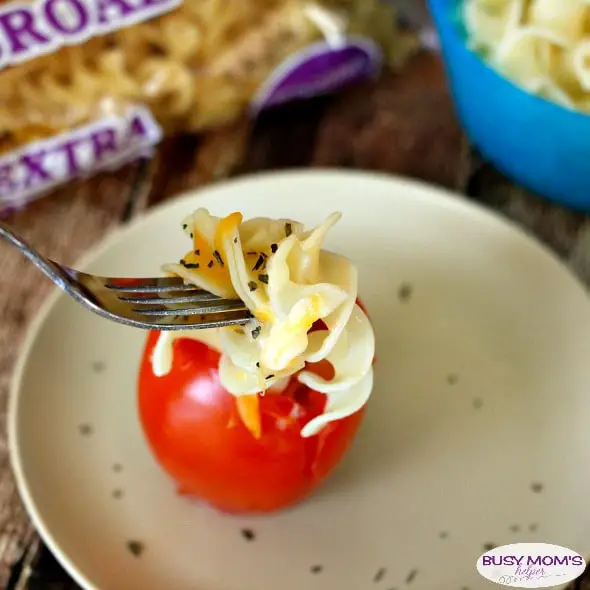
This post was sponsored by No Yolks as part of an Influencer Activation for Influence Central and all opinions expressed in my post are my
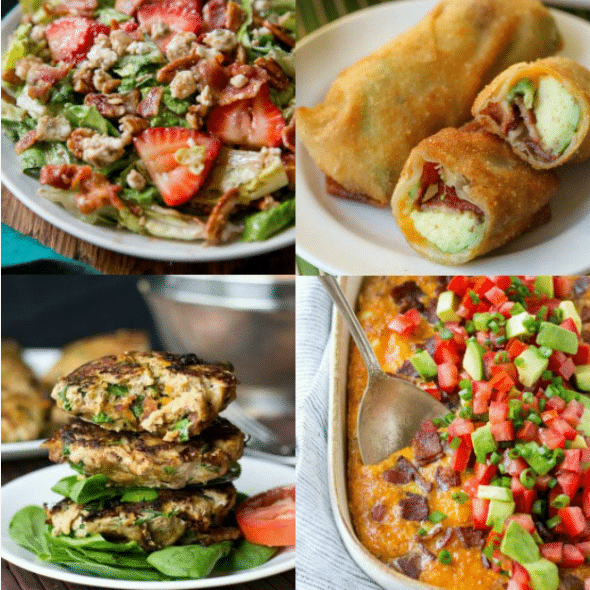
It seems like a major food-craze that hasn’t gone away in past years is BACON. People love it – and for good reason, since it’s
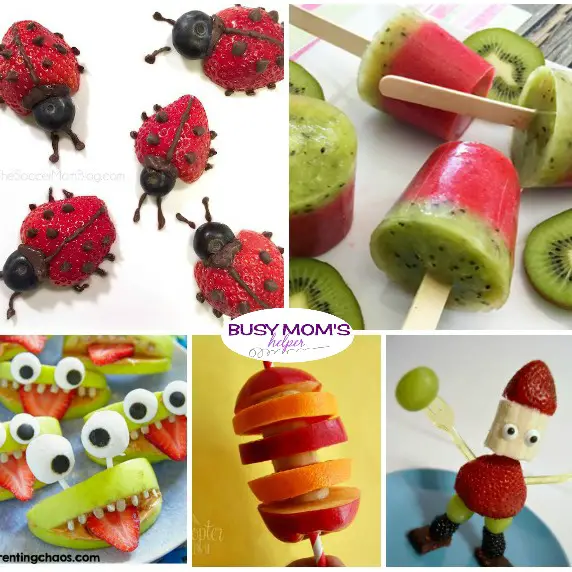

Another holiday has come and gone and while it’s nice to indulge a bit (can you say chocolate bunnies?), I always feel so ready to
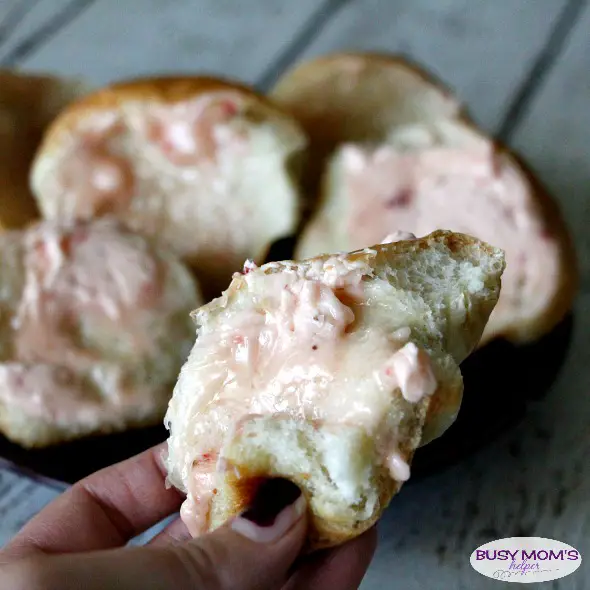
Does anyone else get a bit giddy when they see strawberries for a good price at the grocery store? I LOVE it, and so does

At Thanksgiving this past year, we were in Florida to spend the holiday with my mom, sister and my sister’s family. Oh it was heaven
View More