
Raise your hand if you love comfort food. *Raises hand* We love it around here so anytime we have an excuse to pull up a
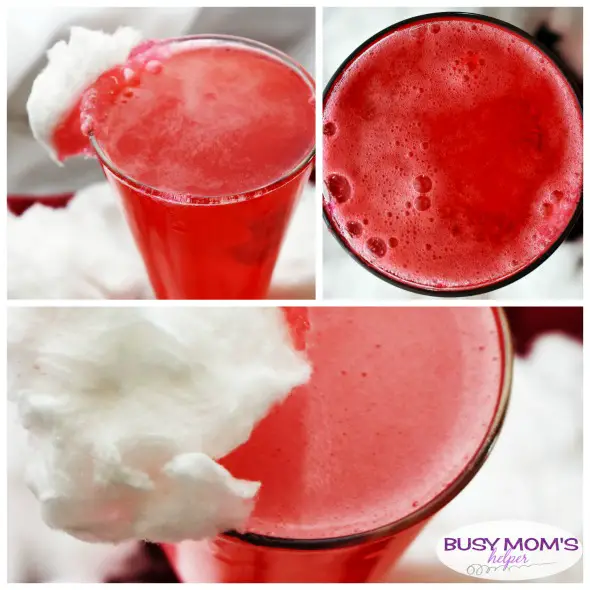
There’s no shortage of tasty holiday drinks, but sometimes it can be frustrating finding a really good one that’s non-alcoholic. Luckily, this delicious Valentine’s Day
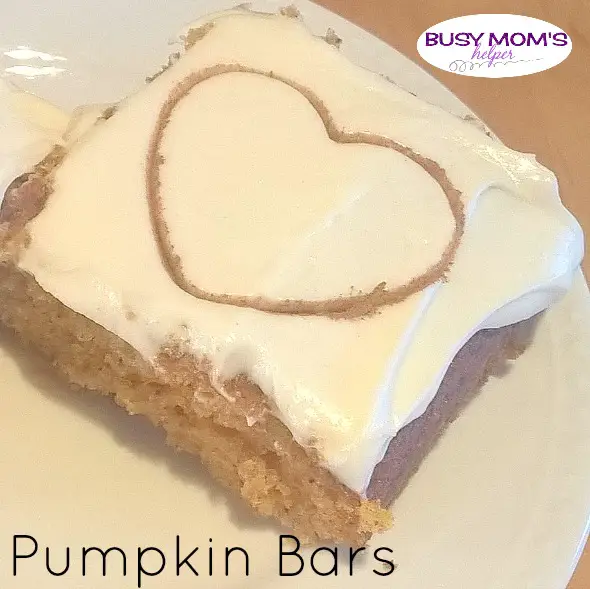
November is the month for everything pumpkin and I tried some fun recipes one of which is Pumpkin Bars that turned out to be a
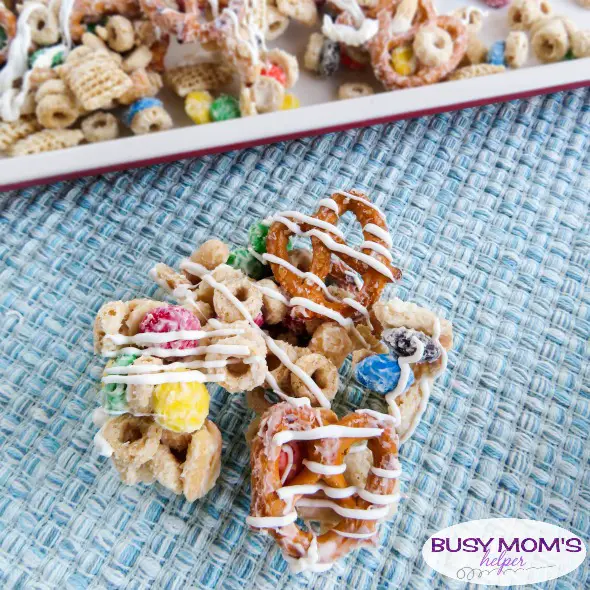
Whether you need a treat for a holiday party, co-workers in the office, a tasty gift idea, or just for an afternoon break, this Christmas
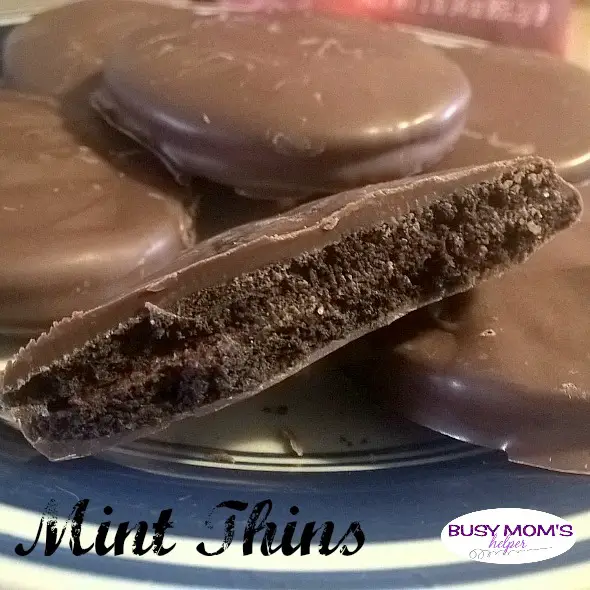
Mint Thins are a perfect treat to enjoy on a cold winter night and fun to serve at all those holiday parties. These Mint Thins
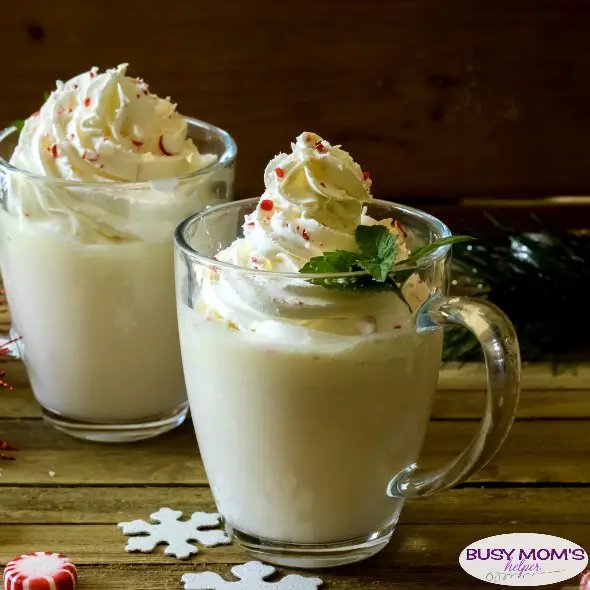
It’s freezing outside. Well, not in the ‘technical’ sense of temperature, but for Texas it’s pretty darn close! Plus it’s suppose to actually get into
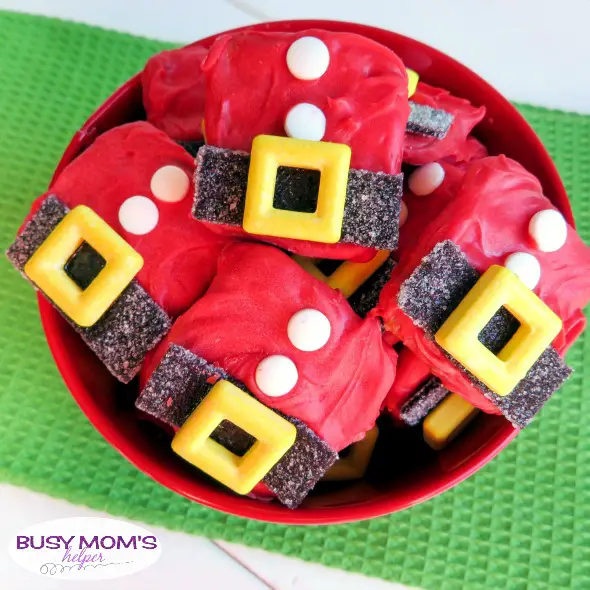
You know how fun it is to make festive treats during the holidays? I love it – and my kids sure do, too. What’s better
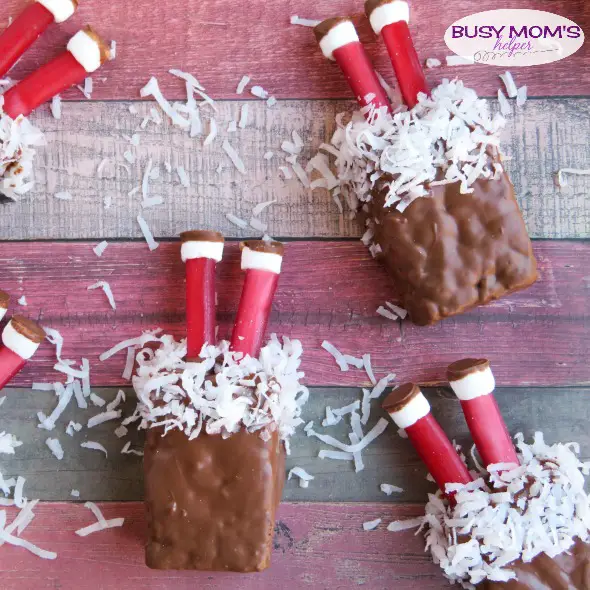
Guys, I just can’t get over how adorable these Christmas treats are – or how easy they are to make! These Cute Santa Chimney Treats
View More