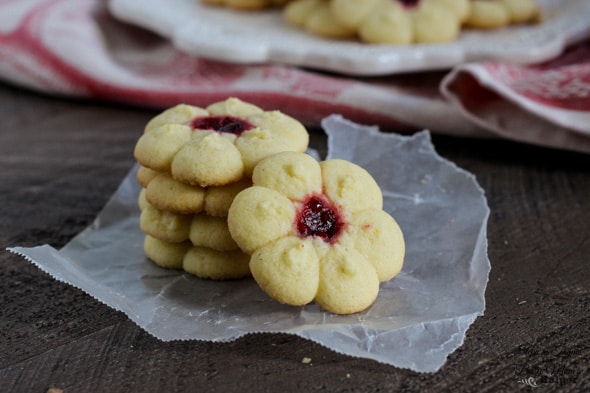
Hello, and Happy Holidays! This is Stephanie from Steph in Thyme, and today I’m sharing a classic Christmas cookie recipe my family has been baking
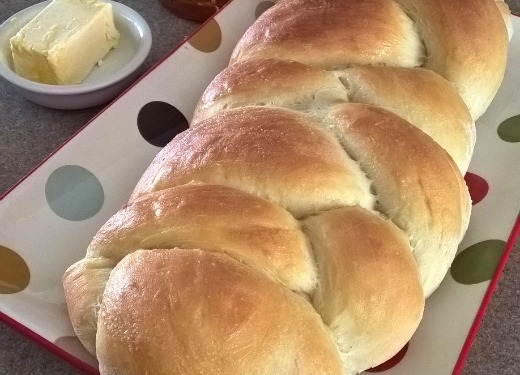
I was about 10 years old when I first made homemade bread and I absolutely loved it. Did it take forever? Yes and still kind
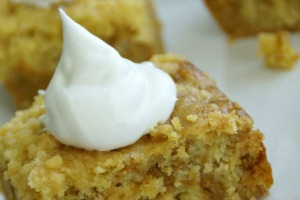
This is a sponsored conversation written by me on behalf of General Mills. The opinions and text are all mine. #SnackandSmile Although my family absolutely
Nikki here to tell you a little bit about me. I love sugar, along with like everyone else, but the one thing I have never

There have been SO MANY yummy holiday desserts all over the blogosphere lately, I just had to pitch in some of my favorites! What better

*I was provided free product for this post. All opinions are my own. See my Disclosure Policy for more information. My family loves fruit, to
You know those grandma’s who are just so dang good at cooking, you always expect to be happily stuffed when visiting their home? My Grandma
While I was away at SNAP! Conference last weekend, Hubby was amazing watching over the kids. With 4 little ones, though, it’s not easy! Luckily,
View More