
Are you starting to get bored of the bland recipes boneless, skinless chicken breasts? It gets overcooked really fast and more than often, you will
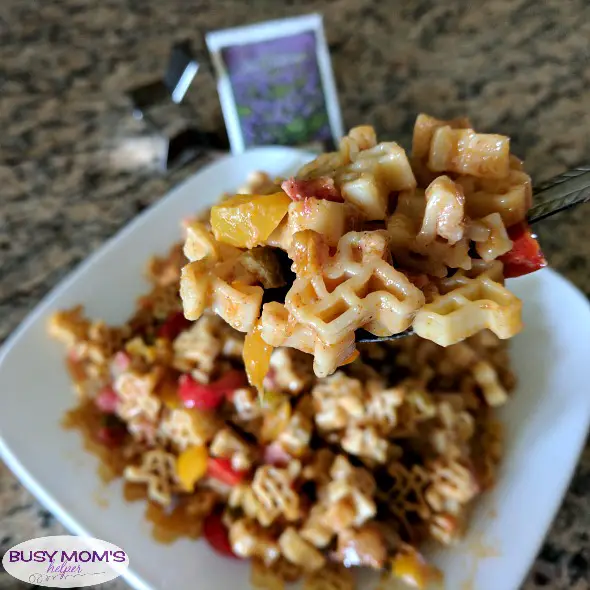
As a big family of 7, having great go-to dinner recipes that are not only delicious, but also quick are a necessity. One thing we
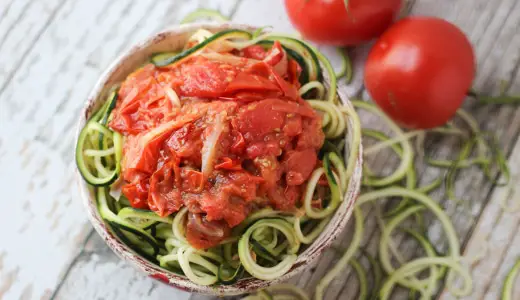
Just because a weeknight dinner needs to be quick and simple doesn’t mean it can’t be healthy or packed with flavor. This Spiralized Zucchini with

Thank you Idahoan® Steakhouse® Soups for sponsoring this post. Enjoy the flavorful, slow-cooked taste of restaurant-quality soup at home, in minutes. While I’m grateful to

My Hubby is a Google+ addict. Not over-the-top crazy, but it’s the social media he prefers. I’m often found browsing Pinterest and Facebook, he’s on
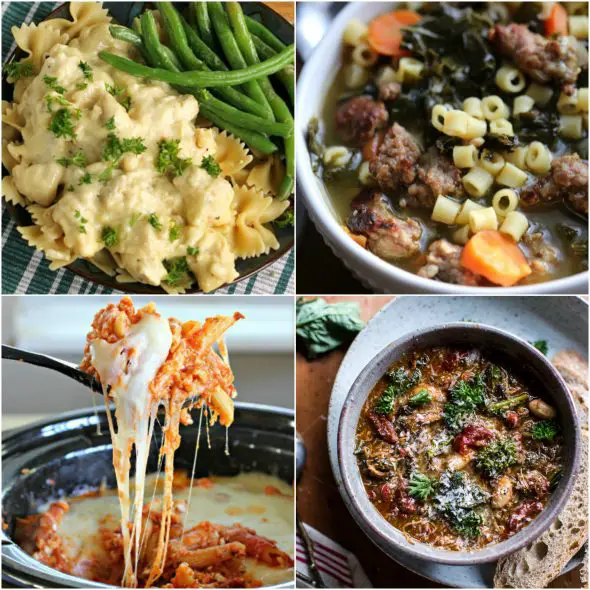
I absolutely LOVE Italian food – it’s one of my favorites! Being able to whip a great meal in the crockpot is also a love

I know that other states are MUCH colder than here in Texas – I mean, I grew up in northern Utah until I was about

If you’re looking for something a little different than your typical sandwich, these Poppy Seed Chicken Pitas are just the ticket. Fresh, flavorful with a
View More